Spider Hammer Curls: How To, How Not To, and Benefits

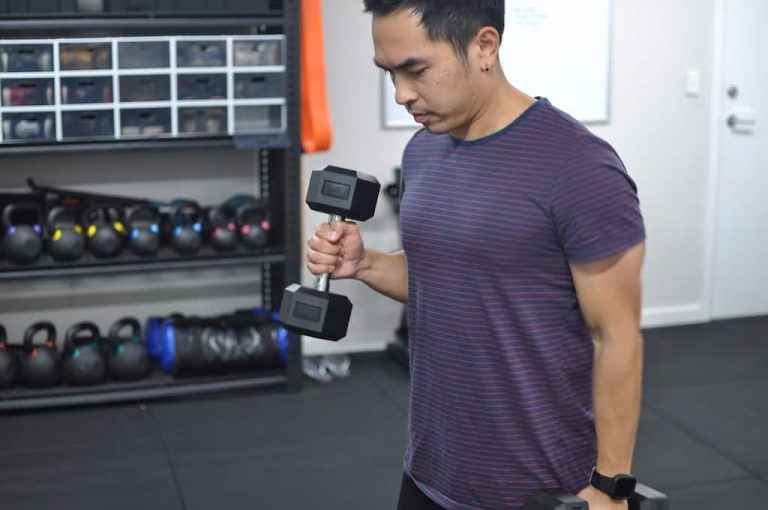
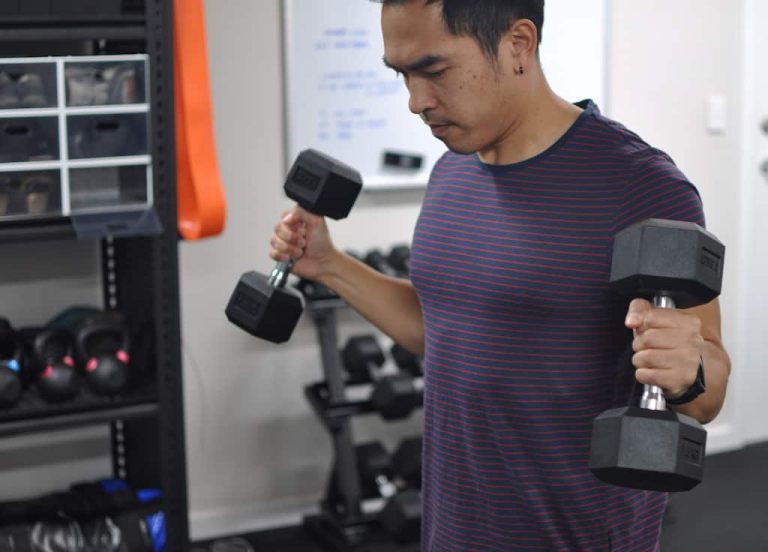
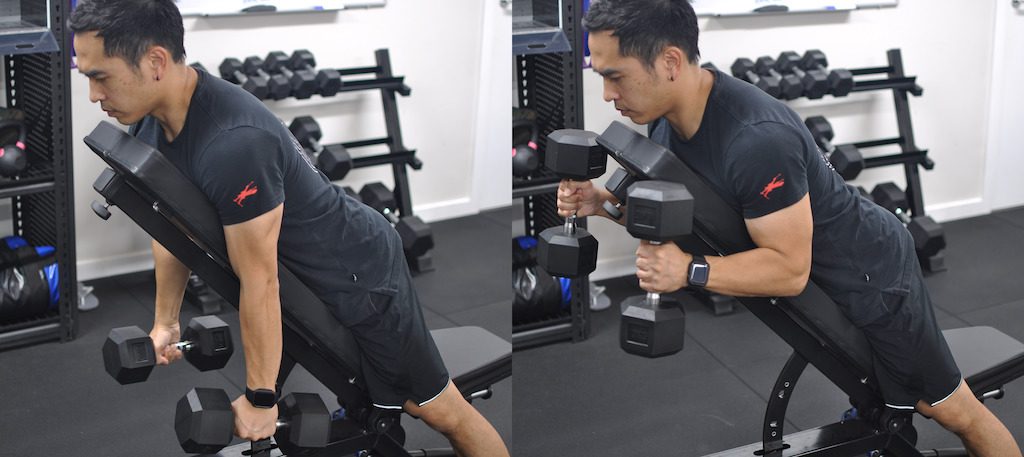
Spider hammer curls are a variation of dumbbell hammer curls where the arms are suspended straight down toward the floor at the beginning of the curl.

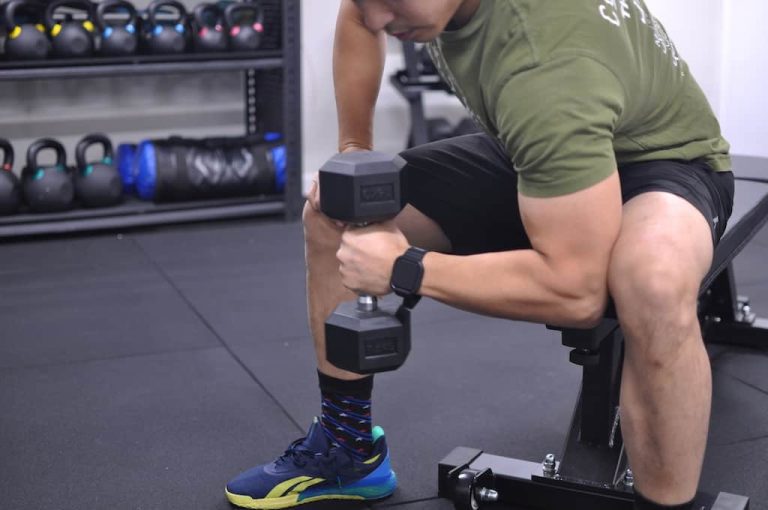
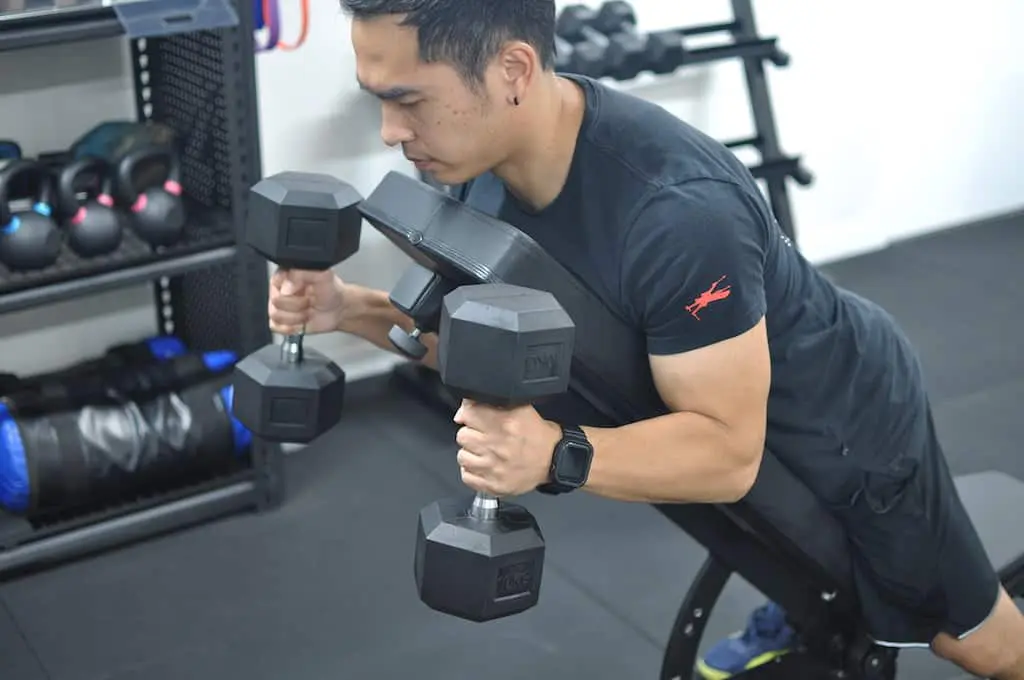
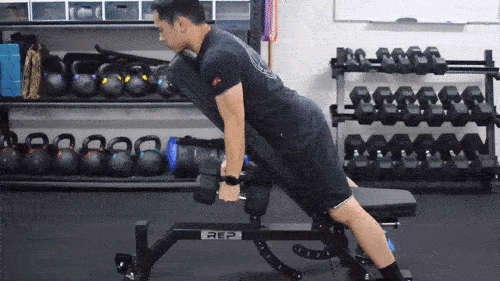
A legit spider hammer curl is one that’s performed lying chest down (prone) on an incline bench with the backs of the upper arms not supported by a pad, and the curl is performed using the neutral grip from beginning to end of every rep.

Some have confused the spider hammer curl (and spider curl in general) with a vertical preacher curl (see our article on Preacher Curl Alternatives for more on vertical preacher curls), and with what some call a decline hammer curl.

The spider hammer curl movement

Let’s face it…we’re sorting out the details here. But it’s important to know the differences and associated pros and cons when programming your exercise routine. Hammer curls are hammer curls. They all involve the same muscles.

Certain variations make cheating more difficult—like our spider hammer curl here—some maximize time under tension better than others, and injury risk is more or less depending on how the biceps and their tendons are situated versus direction of resistance and degree of stretch.

Muscles Worked

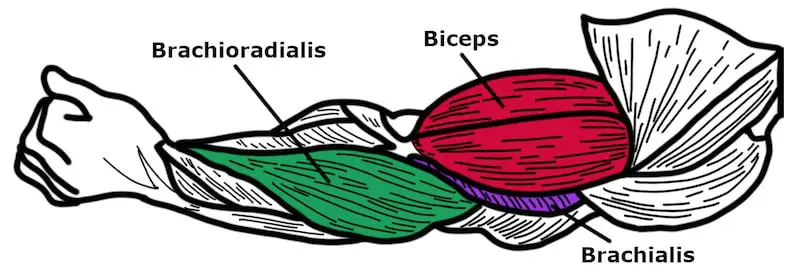
Spider hammer curls—like all hammer curl variations—work the brachioradialis, the upper arm muscle that adds thickness and height to the arm above, below, and around the elbow. The brachialis as well as the biceps are still utilised but take a more secondary role.

Biceps, brachioradialis, and brachialis muscles

Spider hammer curls are similar in almost every way to the vertical preacher hammer curl. The difference is that the upper arm is unsupported during the spider hammer curl. There is no pad to prevent cheating although the prone lying position complete prevents the lifter from throwing their upper body into the movement to generate momentum to help the target arm muscles do the curl.

So, it’s the grip that defines the hammer curl and the lack of upper arm support that makes it a “spider” variation.

How to Do A Proper Spider Hammer Curl

Here’s how to do a spider hammer curl correctly. All you need are dumbbells and an incline bench. Adjustable benches are perfect for this so that you can decide which degree of angle suits you best.

Start and end of spider hammer curls
  1. Set the bench to an angle that keeps the dumbbells from touching the floor at the base of each repetition. Which angle you select is completely up to you. If you need a suggestion, pick an angle in the 45° to 60° range. Not too far forward and not too vertical either.
  2. Select a dumbbell weight that permits strict form. Spoiler alert: they’ll be lighter than you think.
  3. Lie chest down on the incline bench. Take the dumbbells with you and use them to lower yourself onto the bench, then carefully lower them to hanging position.
    • You can also leave the dumbbells on the floor and pick them up once you’re in position if you’re able to reach them.
  4. Get a neutral grip on the dumbbell, thumbs facing forward. (The thumbs will travel toward your head as you curl.)
  5. Bend at the elbow only, using only the anterior upper arm muscles to initiate and complete the rep. You can use one or two dumbbells.
    • You can do one arm solo.
    • You can do two hands simultaneously, or alternating, like so:
      Alternating spider hammer curls
  6. Maintain tension through the entire set. Don’t relax the arms at the bottom of a rep. If you must, make sure that the upper arms stay vertical as you re-establish traction.

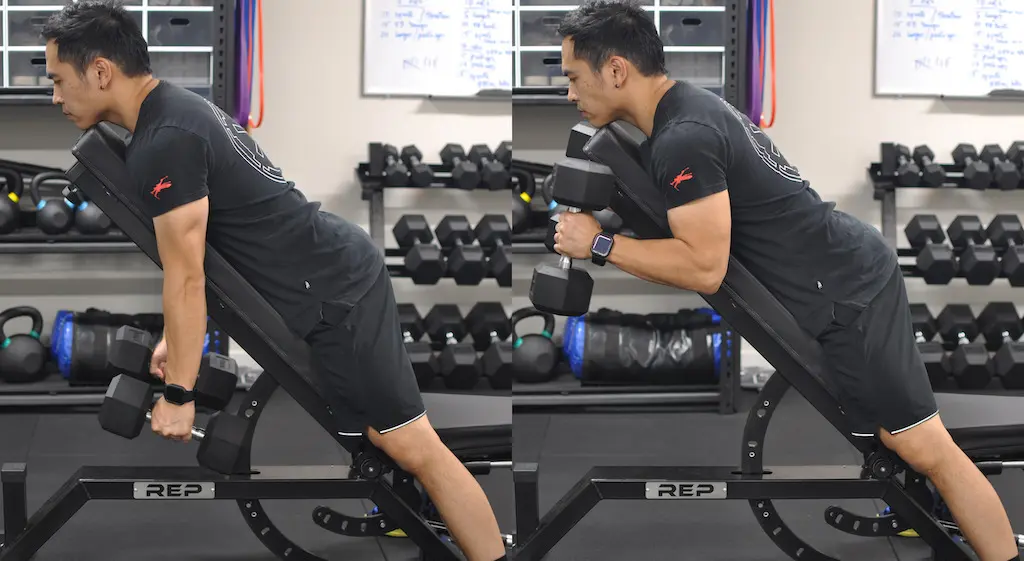
Low and behold, the spider hammer curl:

Spider hammer curl correct form

How NOT to do a Spider Hammer Curl

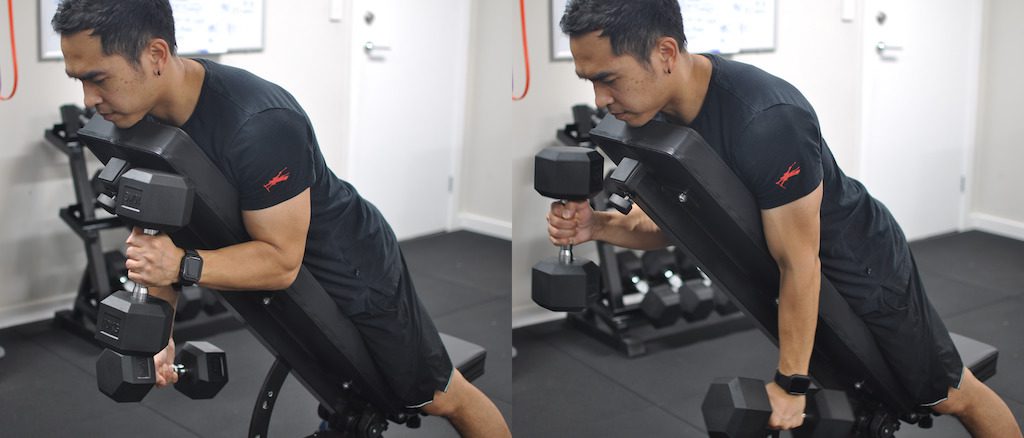
Spider hammer curls are easy to get right. Goofing them up is pretty tough. But it’s possible.

Here are some common mistakes to avoid with Spider hammer curls:

  1. Hinging, not curling. This is the most common error and one that’s easy to make if you’re not paying attention to your form. The upper arm should stay at 90° to the ground through the entire set.
    • “Hinging” happens when the upper arm (humerus) moves along with the forearm. It resembles a bit the motion of a dumbbell row. Are the target muscles working? Yes. But not as hard as they would be if the upper arm was kept straight up and down.
      Using momentum during spider hammer curls
  2. Bench set too low. Setting the bench too low so that the weight hits the floor at the bottom ruins every rep. Dumbbells should be suspended at the ends of your arms at the bottom of a rep.
  3. Using a grip other than neutral. Changing the grip makes spider hammer curls something different. Again, they’re still curls and will work the biceps and surrounding anterior upper arm muscles, but for crying out loud know the difference. If you’re intending to do a hammer curl, the palms must be inward facing toward the body at all times.

Benefits of Spider Hammer Curls

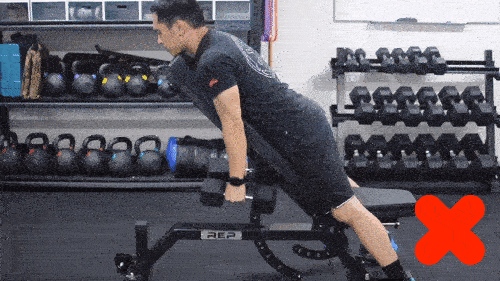
Spider hammer curls’ benefits stem from their ability to isolate the working muscles and prevent other body parts from getting involved when performed correctly. By the arms hanging freely, there’s no backstop to press against. Strict spider hammer curl form requires that the target muscles stay under tension.

  • Isolation = more muscle growth!
  • Confidence that you’re isolating the brachio-radialis and biceps. Even though some people find a way to cheat the form, it takes effort. If you do these right, you’ll be building muscle and thickness in the elbow area. (Who wants boney elbows?)
  • You can concentrate on one arm at a time by doing these unilaterally.
  • Safe. Lighter weights than you could otherwise lift are required, and the biceps muscles and tendonous attachments are positioned against resistance in a way that’s friendly to them. It’s easy to fatigue the target muscles quickly and safely by doing spider hammer curls.
  • Hammer grip creates a bit less stretch in the tendons and for that reason, these are a great way to return from a layoff from biceps tendonitis.
Share your love
Avatar photo
Perry Mykleby, ACE CPT

Perry started lifting weights in 1974. He is an ACE-certified personal trainer and holds the ACE Orthopedic Exercise certification.

He holds a journalism degree from the University of North Texas, where he competed in powerlifting. His final competition was the Texas State Open in December of 1982, but has continued to study and practice muscle strength and hypertrophy. He is a four-decade veteran of the medical device industry.

Newsletter Updates

Enter your email address below and subscribe to our newsletter

Leave a Reply

Your email address will not be published. Required fields are marked *


Subscribe to Our Newsletter
Get Insider Tips Straight to Your Inbox!