The best online fitness resource you'll ever need. We filter out the BS to ensure you meet your health and fitness goals!
The best online fitness resource you'll ever need. We filter out the BS to ensure you meet your health and fitness goals!
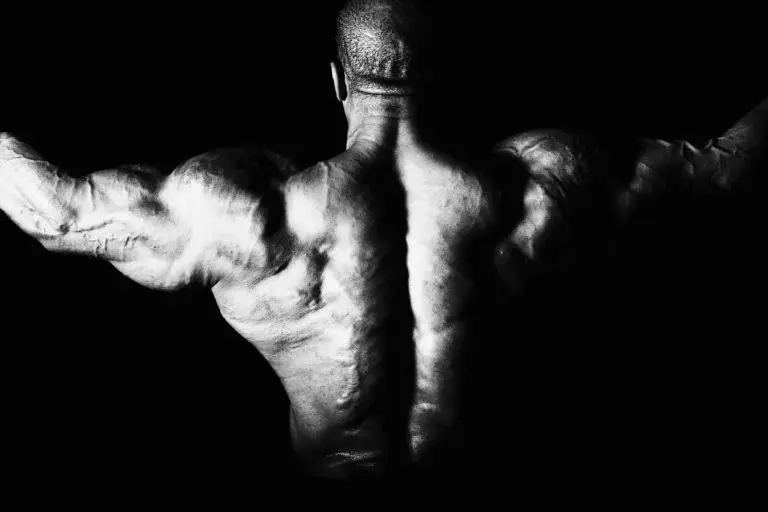
Can you build muscle using dumbbells only? Yes, you can.
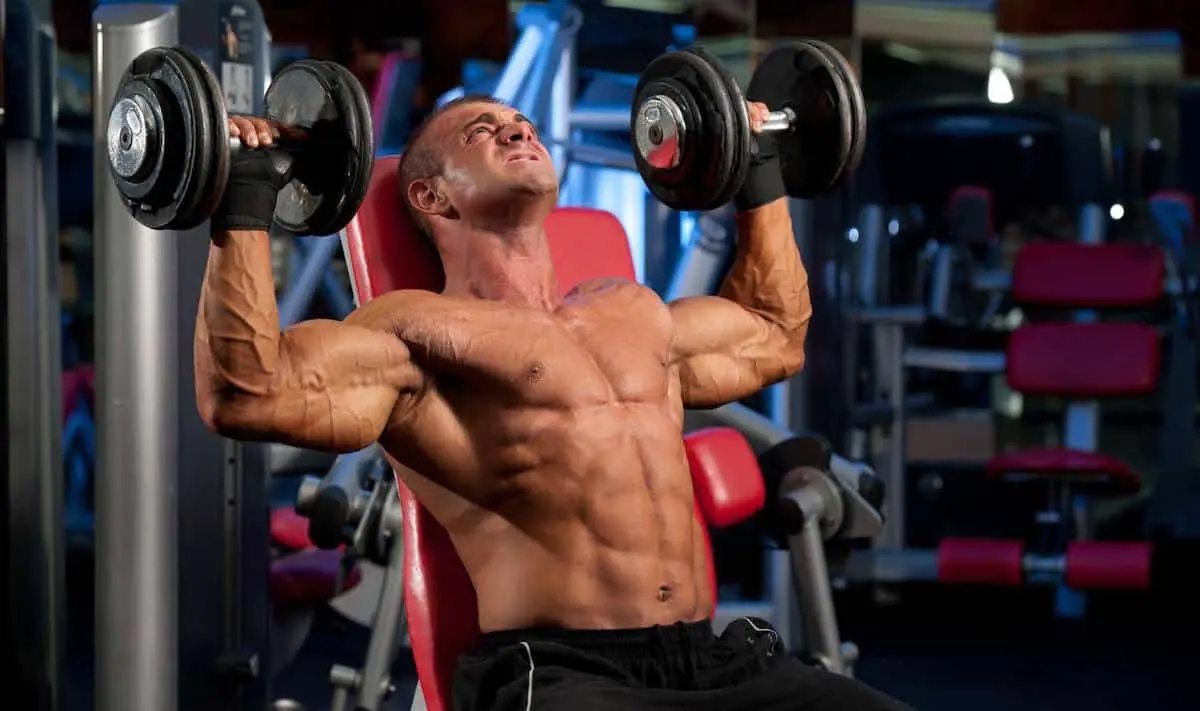
In this 12 Week Dumbbell Workout Plan you’ll find a routine that can add muscle, and shape to what you have now.
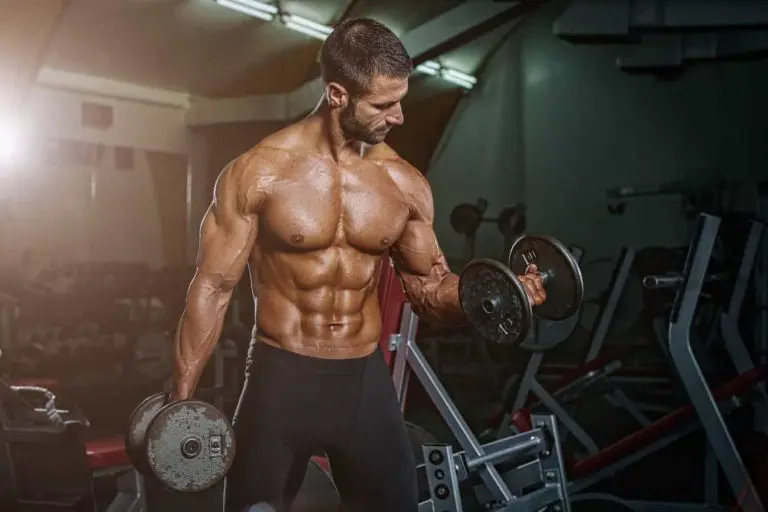
Dumbbells and dumbbell-only workout routines gained crazy popularity during the pandemic when fitness facilities were closed. People found out that they could actually get a good workout without a myriad of machines and barbells.
All you need is a complete set of dumbbells, motivation, and the right program (i.e. this one!). The motivation is up to you.
We also offer some advice on dumbbell selection so that you can get the best out of the dumbbells you already have or planning to purchase.
Jump to the workout plan now!
Alternatively, you can download the free PDF using the link below:
| Program style | Bodybuilding |
| Program duration | 12 weeks |
| Target Gender | Male and female |
| Target Muscles | Full body |
| Workout duration | 1-2 hours |
| Scheduling | 5 day split |
| Goal | Build muscle |
| Level | Beginners to advanced |
| Equipment | Dumbbells, bench |
Yes! You can definitely build muscle using dumbbells only.
As with any resistance training exercise, progressive overload and proper biomechanics are what makes the difference. In many cases, dumbbells check both those boxes as long as you have an adequate range of dumbbell weights.
Now…
If the question becomes “Can you build muscle better or faster using dumbbells only”, the answer changes to probably not.
For the best possible program, and for the uber-serious resistance exerciser, you need a well-outfitted home gym or a commercial fitness center where you’ve got at least a heavy duty cable machine and a barbell or hex bar.
Related: The Ultimate 12 Week Strength Training Program (Free PDF)
You can expect to work out all the body’s major visible muscle groups once a week. For the larger muscle groups, you’ll get extra work.
If you’re new to resistance training, expect to see some impressive gains. The exercises in this program have been carefully selected and grouped using lengthy periods of experimentation and research of the clinical data on resistance exercise.
Assuming you’re eating right and don’t have a lot of excess body fat to shed, you can expect to see favorable shape changes and some strength gains.
Please note that this is a physique program and not a strength program. Those two objectives are not mutually inclusive, although there is some overlap in training methodologies.
Dumbbells are maybe the most versatile training accessory there is. You could argue that a good dual-axis cable machine would be the only thing better (and it probably is, for reasons I won’t delve into here).
Dumbbells are portable and easily stored. Their design allows them to be held in natural positions without the constraints of a bar running across your body.
Arms and legs can function independently and can move in sagittal, frontal, and transverse planes of motion without restriction.
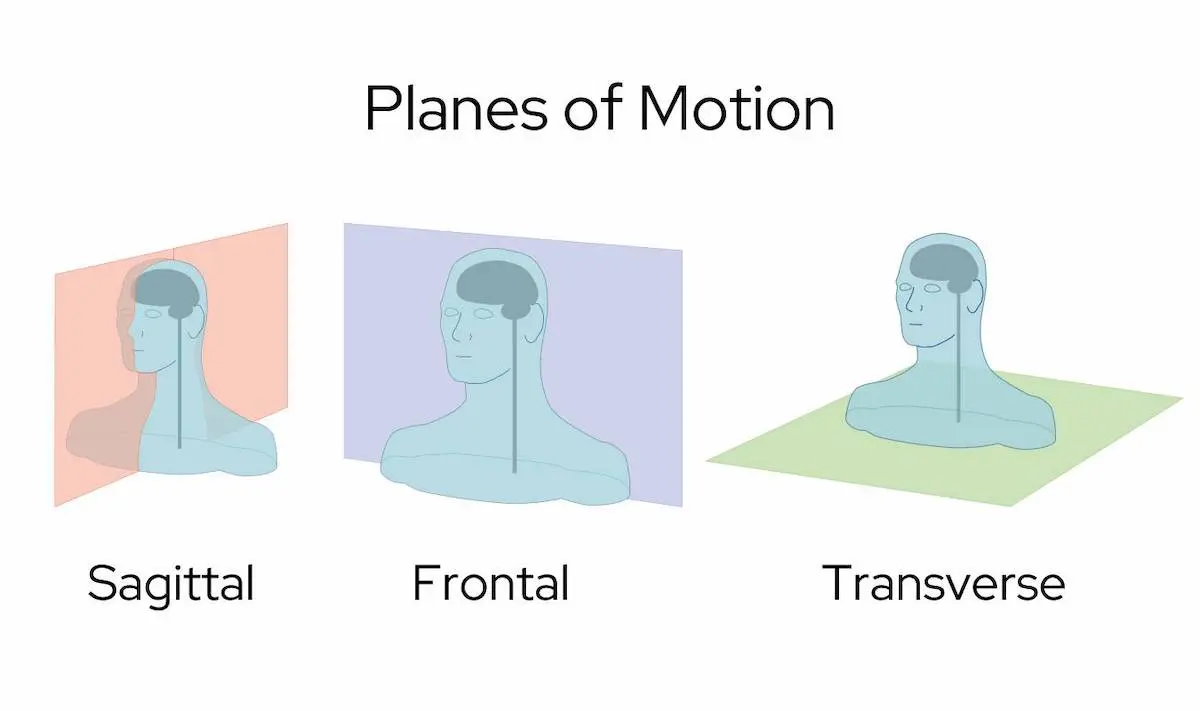
Planes separate the body with imaginary dividing lines to describe anatomical position.
Sagittal “divides” right and left sides. Frontal divides front and back. Transverse is top and bottom halves.
An easy way I’ve found to thing of it is by the angle of view where the movement is evident. So, sagittal is looking from the side. Frontal is looking from (you guessed it), the front. Transverse movements are twisting motions, where the body is moving side to side.
Finally, dumbbells let you pick and choose the weight volumes you want for your kit. I chose fixed weight metal dumbbells in 15-lb increments. I found that I could progress and regress my routines very effectively with that range without sacrificing form or resistance amount.
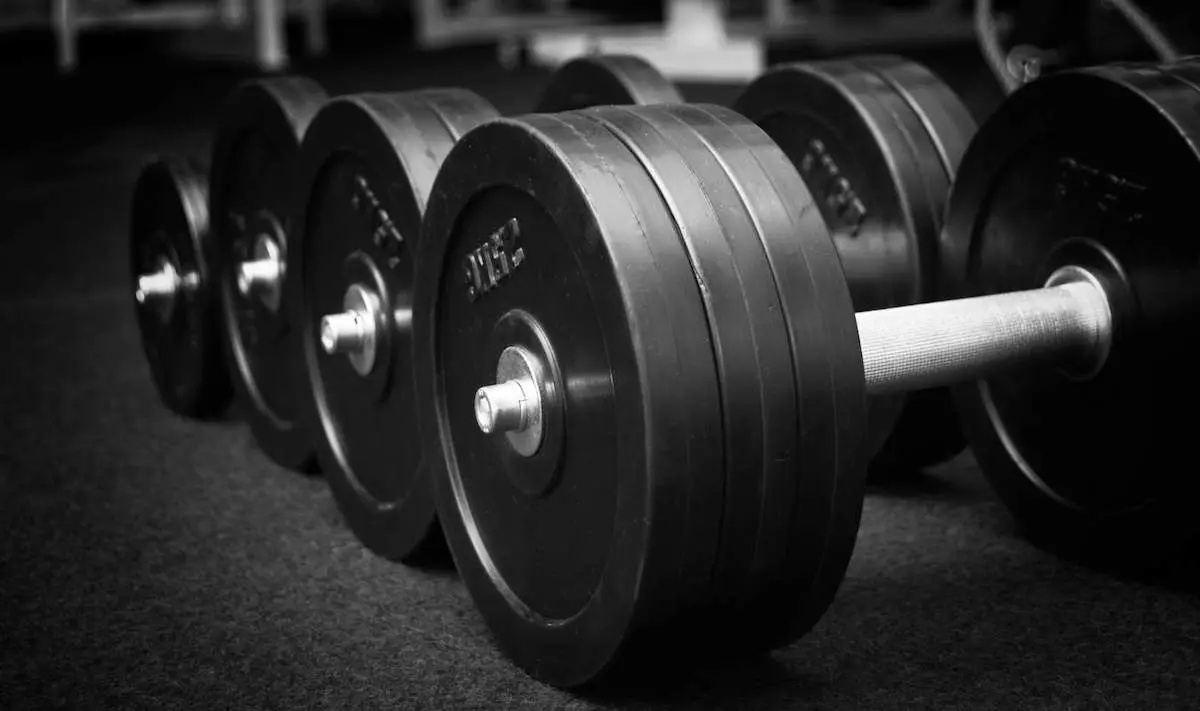
There’s no shortage of dumbbell styles to choose from. If you’re building your DB set now, or adding to the one you have, you’ve got lots of options.
Which ones to choose? Are some better than others?
Here are some important points to consider:
There are three fundamental dumbbell geometries:
All three have their advantages. None has a particular edge when it comes to building muscle.
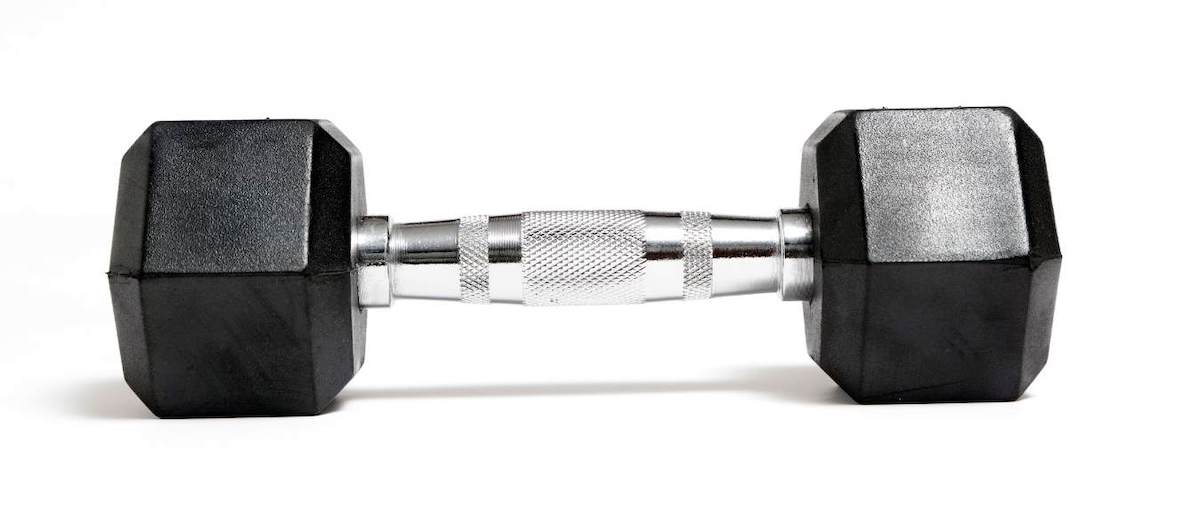
The round dumbbell is most often available with a disc-shaped weight. The old-school spherical weights look really badass, like the strongmen of yesteryear, but they’re not nearly as popular or easy to find as the disc-shaped cousins. (They’re also more difficult to store.)
Round dumbbells require a rack as they are prone to roll. See below.
Wait! Come back here!!
Chasing your dumbbells after you set them down does not count as another set. The big advantage of a hexagonal or octagonal dumbbell head shape is that they stay put. When you set them down, they don’t roll away like the round bells do.
Multi-side dumbbells are available with disc-shaped weights, or the more old-school somewhat spherical ends. The advantage of the latter is for doing floor work like RDL or squats. The former shine during DB presses when you’d rather not have the weight hitting your shoulders.
If you’re working out on a carpeted area like short artificial turf (as is found in many functional training facilities), the hex or octagonal DB isn’t a tremendous advantage. If you don’t have a rack and like your DBs to stay organized, multi-sided bells may be your best bet.
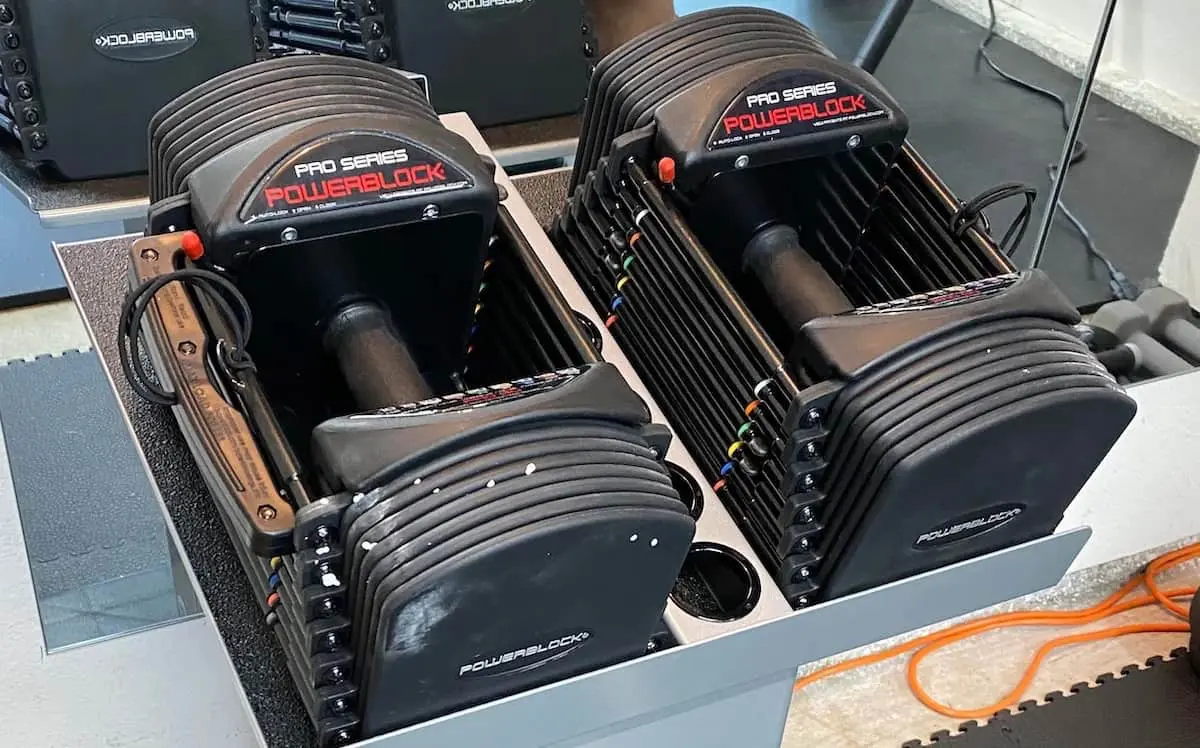
Square designs are used in the popular PowerBlock® adjustable dumbbell design. This shape definitely stays in place when you set it down.
Square dumbbells–because they’re almost always the adjustable variety–require no rack, although the manufacturer offers an attractive rack option if you’re interested and want your dumbbells stored off the floor.
OK, here’s some gym esoterica.
For dumbbell connoisseurs, grips make a big difference. Grips come in a couple of basic shapes and aggressiveness of knurling. Many brands today feature a cylindrical grip from end-to-end between the dumbbell’s heads.
My personal preference are the chamfered grips that are wider in the middle and tapered toward the ends. I find that those are easier to center your grip without looking first.
Adjustable dumbbells are a very cool alternative for limited spaces. They come in block and the more traditional cylindrical form factors. You can get them with or without stands.
If you’ve got the space in your place, go fixed weight. The block style can get a little awkward for exercises like shoulder presses or DB squats. A goblet squat for instance.
Some dumbbell brands offer rubber-coated weights. The single advantage of the polymer coating is its floor-friendliness. If you have padded gym flooring, either will do just fine.
Some polymer coatings are better than others. If you’re one of those people who drops their dumbbells, find a durable brand so that it won’t chip. And also, learn how to set your dumbbells down like a pro instead of dropping them.
Mad Spotter hooks are also highly recommended to avoid dumbbell damage.
Metal-only DBs can have a single weight on each end, or a stack of discs. Single weights are better in general for durability.
The stacked disc designs tend to loosen over time, and if they’re welded and not bolt-fastened on their ends, they’ll get harder to deal with over time.
You’ve got a lot of freedom to select which style of dumbbell you use as long as you have a range of weights available. You’ll not get the results you want if you have only a couple of weights.
Think about the space you have available, the exercises you’ll be doing, and of course budget as you make your purchases.
It’s of course perfectly fine to have more than one style. Totally up to you.
The only other equipment you’ll need is an adjustable bench and something to elevate your heels and the bench. A couple of 2×4” boards will do fine for these purposes.
Select an durable adjustable bench, and if you can find one within your budget, get one that provides a <0° setting. That angle setting comes in handy for decline presses you’ll be doing for chest work.
Angled heel blocks are a nice addition for heel-elevated squats.
Our Dumbbell Workout Plan breaks down like this in summary:
| Day | Split |
|---|---|
| 1 | Legs, Arms |
| 2 | Shoulders |
| 3 | Rest |
| 4 | Chest |
| 5 | Back, Glutes, Calves |
| 6 | Cardio, Abs |
| 7 | Rest |
Leg and Arm Day feature some gym favorites for shape, density (aka tone), and strength.
I love Heel-elevated squats.
The heel-elevated variety has become much more popular over the past couple of years as the (pointless) dogma around traditional squat stance has given way to good sense.
They favor a wide range of leg lengths and don’t require auxiliary foot dorsiflexion work. With heels elevated, the ankle doesn’t need to bend nearly as much to allow the upper and lower legs to come together.
The closer the upper and lower legs get to one another during a squat, the greater the range of motion. That upper-lower leg approximation is what makes A$$-to-Grass (ATG) squats effective.
The problem with ATG squats is that not everyone’s anatomy (hip socket construction, upper and lower leg bone lengths, and upper body length) is built for ATG squats. None of that’s an issue with heel-elevated so anyone can get a full ROM.
Biomechanically, elevating the heel positions the lower leg as a more active lever for the thigh muscles, which equates to more effect during squatting. A more active lever means more target muscle involvement and greater potential gains.
It also allows for a more erect, vertical path of descent, which again, biases the quads over the glutes, and safer for the lower back.
Finally, the heel-elevated stance provides some surprise hip adductor work. Hip adductors enhance the overall shape of the upper leg and are a key physique component of today’s modern fit look.
Never fear if you’re looking for a lot of glute work on Leg Day. You’ll get your glute in our 12 Week Dumbbell workout program. I’ve programmed glute work into Leg Day and in Glute-Back Day.
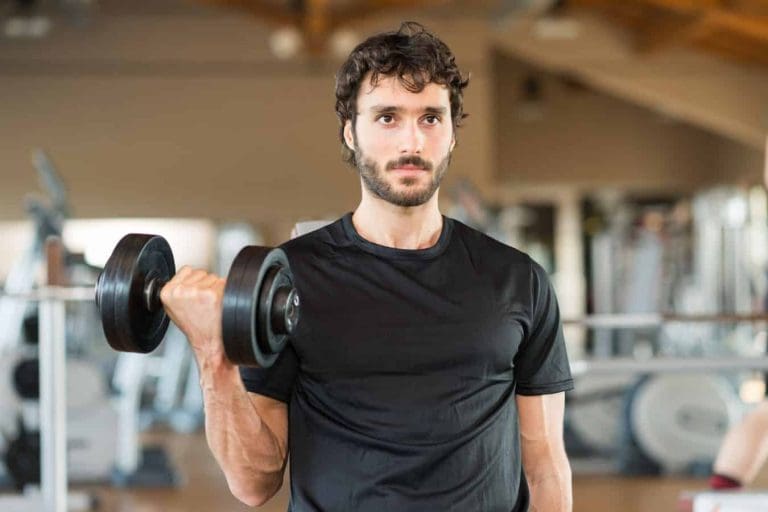
Arm exercises feature the classic biceps and triceps movements.
Be sure to angle your upper arms slightly backward when doing your supine triceps extensions. Doing so will maintain the load on your triceps at all times during a set.
Dumbbells work great for building capped delts and thickness around the shoulders.
I included trap work in Shoulder Day because traps are, technically, a shoulder muscle. They’re functionally responsible for moving the shoulder blades (scapulo-thoracic joint).
Resist the temptation to use too much weight by being super-disciplined on rep speed and form.
Your glutes are one of your body’s largest muscles. They’re important for both function and physique. You’ll move better with healthy glutes and your clothes will probably also fit better too.
Ladies today want shapely, toned glutes. Guys don’t seem to be quite as interested, but they should be.
If you’re a guy, trust me when I say you need to prepare for the future and work your backside. One of the most cringeworthy sites in the gym is an old dude with an elephant-ear butt. Work your butts in your 20s and 30s, guys.
As far as back work is concerned, candidly, cables beat dumbbells. There’s just more you can do with a cable machine and they’re better suited for lining up your muscles with the resistance.
Still, there are some time-tested dumbbell exercises that can get the job done. You’ll just need to be very vigilant on exercise form and paying attention to the details.
Pause for five to 10 seconds in the bottom stretched position. Longer if you can stand the discomfort. Recent research into calf muscle hypertrophy suggests that prolonged stretch can build muscle thickness. It is important to know that the study looked at prolonged stretching and not long pauses during a set. I’m applying some logic here that a longer stretched position during a set has its benefits.
Whether you like a long pause at the bottom or not, calf raises should be performed slowly and under control. Quickly bouncing up and down is just a waste of time.
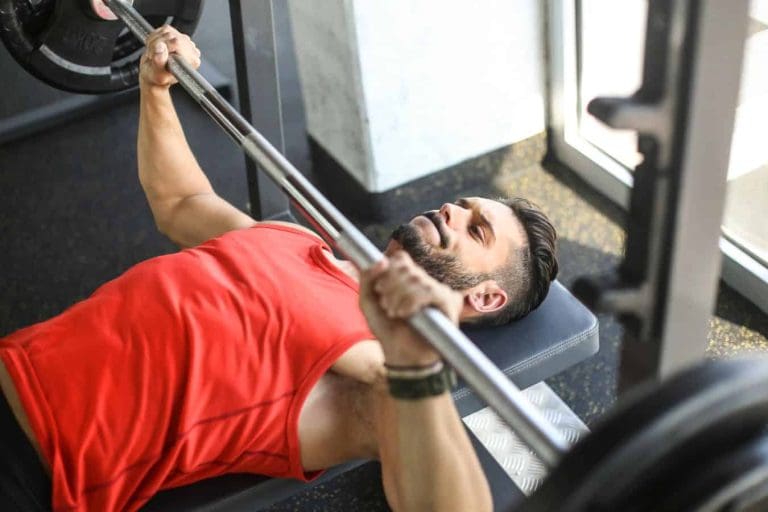
Dumbbells do a perfectly excellent job at training the chest. And when we say “chest” we mean the pectoralis major and anterior deltoid muscles.
The pectoralis major is a fan-shaped muscle that’s responsible for moving your arm across your chest in a number of angles. For that reason, we can train it thoroughly with dumbbells by adjusting the direction we lift.
Flat DB Press involves the pec major and anterior delts in pretty much equal degrees.
Decline DB Press slightly biases the sterno-costal (lower pec) region; however, data shows that this pressing angle may be biomechanically best for training the entire pec.
Some champion bodybuilders have relied most on decline DB press to build impressive chests, without the use of other chest exercises.
Underhand DB Press will surprise you. If you use the correct form, you’ll feel this in the upper region of the chest near your collarbone and the area just below it near your mid-sternum. It’s one of my favorites.
Chest Day in our 12 Week Dumbbell Workout Plan features three DB bench presses. Each one orients the pushing direction in a way that targets the regions of the pec major. We’ve also included cable flyes for good measure.
Apply these tips to get the absolute most out of all your DB chest presses.
I wrote in a couple of challenging dumbbell exercises for the cardio session, adding DB weight to a couple of traditional functional metabolic movements.
Take it easy on Day 6 and get ready for another week of hard, productive muscle-building.
Footnote: leave stretching for the end of the workout. Never stretch cold.
| LEGS / ARMS | Warm up | Set 1 | Set 2 | Set 3 | Set 4 |
| Air squats | 30-50 | ||||
| Heel-elevated DB squats (Goblet or at side) | 20 | 10-12 | 10-12 | 10-12 | 8-10 |
| Bulgarian Split Squats | 20 | 10-12 | 10-12 | 10-12 | 8-10 |
| Romanian Deadlift (RDL) | 20 | 10-12 | 10-12 | 10-12 | 8-10 |
| Straight-Leg Deadlift (SLDL) | 20 | 10-12 | 10-12 | 10-12 | 8-10 |
| Tricep Extensions, Supine | 20 | 15-20 | 12-15 | 10-12 | 8-10 |
| Biceps Curls, Single arm | 20 | 15-20 | 12-15 | 10-12 | 8-10 |
| Hammer Curls | 20 | 15-20 | 12-15 | 10-12 | 8-10 |
| SHOULDERS | Warm up | Set 1 | Set 2 | Set 3 | Set 4 |
| Side Lateral Raises (Side-lying or Seated) | 20 | 15-20 | 12-15 | 12-15 | 10-12 |
| High incline DB Presses | 15-20 | 12-15 | 12-15 | 10-12 | |
| Thumbs-Up Front Raises | 15-20 | 12-15 | 12-15 | 10-12 | |
| Seated Reverse DB Flyes | 20 | 15-20 | 12-15 | 12-15 | 10-12 |
| Shrugs | 20 | 15-20 | 12-15 | 12-15 | 10-12 |
| Scapula “Kelso” Shrugs | 20 | 15-20 | 12-15 | 10-12 | 10-12 |
| “Y” Raises or Lu Raises | 20 | 15-20 | 12-15 | 10-12 | 10-12 |
| GLUTES / BACK / CALVES | Warm up | Set 1 | Set 2 | Set 3 | Set 4 |
| Reverse Lunges | 20 | 15-20 | 10-12 | 10-12 | 10-12 |
| Contra-lateral B-Stance DB RDLs | 20 | 15-20 | 10-12 | 10-12 | 10-12 |
| Single-Side DB Row | 20 | 15-20 | 12-15 | 10-12 | 10-12 |
| Chest Supported Machine Row | 15-20 | 12-15 | 10-12 | 10-12 | |
| Seated Reverse Flyes | 15-20 | 12-15 | 10-12 | 10-12 | |
| Single-Leg Calf Raises | 20-25 | 20-25 | 20-25 | 20-25 | |
| Toe raises | 20-25 | 20-25 |
| CHEST | Warm up | Set 1 | Set 2 | Set 3 | Set 4 |
| Flat DB Bench Press | 20-25 | 15-20 | 12-15 | 10-12 | 10-12 |
| Decline DB Bench Press | 20-25 | 15-20 | 12-15 | 10-12 | 10-12 |
| Underhand DB Bench Press | 20-25 | 15-20 | 12-15 | 10-12 | 10-12 |
| DB Flyes | 20-25 | 15-20 | 12-15 | 10-12 | 10-12 |
| CARDIO / ABS | Warm up | Set 1 | Set 2 | Set 3 | Set 4 |
| Walking Lunges | 24 each direction (bodyweight) | 12 each direction | 12 each direction | 12 each direction | |
| Step-ups | 30 each leg | 30 each leg | 30 each leg | ||
| Crunches | 20 | 20 | 20 | 20 | |
| Sit Ups with a Twist | 20 | 20 | |||
| Side Bends | 15-20 per side | 15-20 per side |
Warm up before your workout to prevent injury and practice the movements. Warm-ups are important for anyone and even more crucial for older adults. If you’re a newcomer to the gym but a veteran in another sport, you’ll already understand the value of a good warm-up.
The warm-ups included in this workout program are composed of very light sets of the movements you’ll be doing during the workout, an application of the SAID Principle (Specific Adaptation to Imposed Demands).
You should also get in the habit of stretching the target muscles before actually targeting them. This program will target basically every single muscle you have in your body, so getting those muscle loose is crucial.
There’s nothing worse than getting started on a heavy set of bench press and pulling a pectoral muscle, which could have easily been prevented with some simple chest stretches.
Progressive overload is the first of the three ways you’ll track your progress (the others being the mirror and how your clothes fit).
Progressive overload is simple. Once you’re able to do the specified number of reps with the weight you’ve selected for an exercise, you increase either the load or the number of reps.
In this program, you’ll increase the weight. Rep ranges should remain as-specified.
Here’s an example of progressive overload application using 15kg dumbbells for chest presses:
The program says to do 10 to 12 reps. Week 1, you’re able to do 10 good reps using 15kg. The next week, you’re able to do 12 reps with good form pressing really hard but could not finish a 13th rep.
So the next week, continue with the same weight until you could comfortably do a 13th or 14th rep. Then raise the weight so that you’re back to only being able to do 10 reps with good form.
Progressive overload is very-well documented for building muscle and strength.
Concentrate on every rep of every set. The last few reps of the last two sets of every exercise (other than on your Cardio-Ab day) should be very challenging.
Pushing or pulling as hard as possible using excellent form with a weight that you won’t be able to move very fast at all.
Don’t confuse this with the concept of intentionally moving the weight slowly, even if you could move it faster if you could. Doing so has been promoted by some as another way to dial up the intensity.
The weights should “feel” heavy during those last reps even if the number on the dumbbell isn’t impressively large. Train your muscles, not your ego.
Recovery is as important to physique development as your actual lifting is.
It is the period when your muscles grow in response to the stimulus. Ratio imbalances between stimulus (training) and recovery leads to overtraining and chronic overuse injuries.
I’ve built in rest days that should allow your muscles to recover and grow, assuming you’re eating right and getting enough sleep.
Rest days should allow for your muscles to bounce back from your hard work.
Rest days should be days spent completely away from the gym, and not working out at home either. Doesn’t mean you should lie in bed all day; activities of daily living are encouraged.
Your central nervous system (CNS) receives overload during intense training along with your muscles. It’s just as important to let the CNS recover also, since the CNS is what powers your muscles. This is clinically documented.
Learn to read your body’s own signals for gauging time between sets. When you can do the next set as well or better than you did the set before, get after it.
If you must rely on the clock…
Rest one to three minutes between your last intense sets. Recent clinical evidence points to longer rest times being advantageous for building muscle.
How many more reps could you actually do with good form at the end of a set? That is RIR, Reps In Reserve.
The trick is actually knowing your resistance envelope. In other words, how many more reps can you actually do with good form? Many newbies to the gym underestimate this.
Here are guidelines I use when applying Reps In Reserve:
Download our 12 Week Dumbbell Workout Program PDF using the link below: