The best online fitness resource you'll ever need. We filter out the BS to ensure you meet your health and fitness goals!
The best online fitness resource you'll ever need. We filter out the BS to ensure you meet your health and fitness goals!
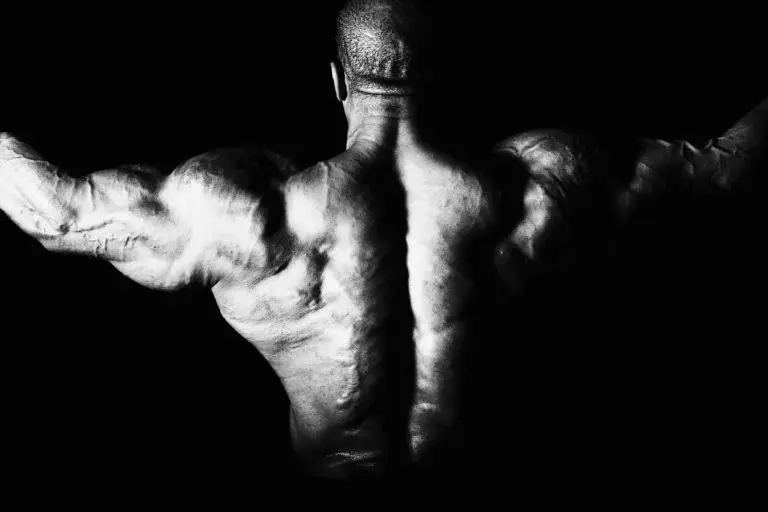
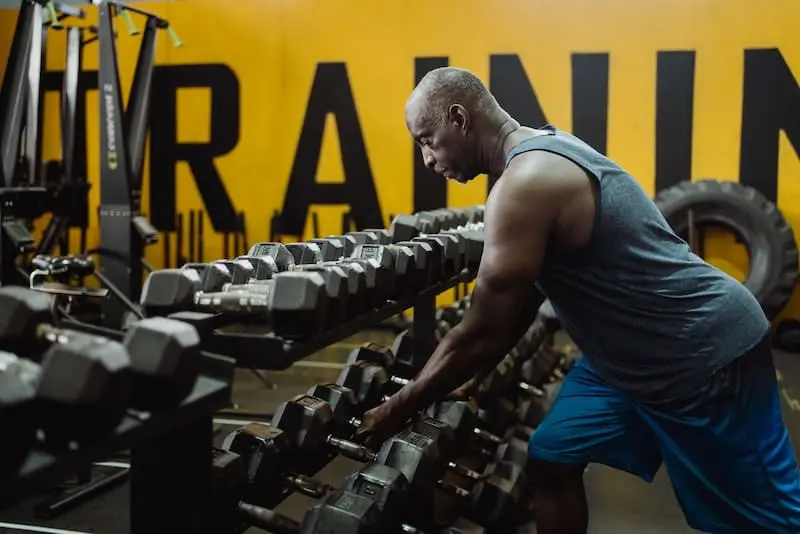
Looking to build some muscle and don’t know where to start? Or perhaps you’ve hit a plateau and wondering how to get out of it. Look no further! Our intense 12 Week Muscle Building Program will put you on the right path for building and shaping your muscles.
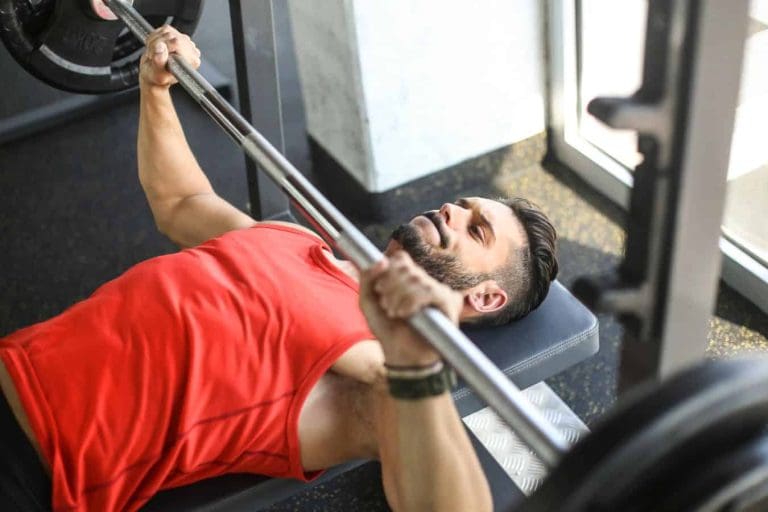
It uses a 6-day split and will work for anyone who performs the exercises correctly, who is in reasonably healthy condition, and who eats right and sleeps enough.
It addresses all the major visible muscle groups in the body, with exercises that have been selected using evidence and critical thinking.
When properly applied, this program will work for any age group. Those with pre-existing health conditions or injuries may need to pick and choose exercises based on physical limitations.
Jump to the workout plan.
Or download a PDF version using the link below.
| Program style | Resistance training and bodybuilding |
| Program structure | Upper-Lower split |
| Program duration | 12 weeks |
| Workout duration | 1-2 hours |
| Scheduling | 6 day split |
| Goal | Build muscle |
| Level | Beginners to advanced |
| Equipment needed | Dumbbells, barbells, weight plates, cable machines, pull bar, chest press machine, hex bar, leg extension machine, leg curl machine, riser, adjustable bench |
The program has been thoughtfully composed through years of personal experimentation, consulting the research, and learning from experts along the way. Given an opportunity and performed the right way, you can expect to build muscles by using it.
But how much muscle though?
The honest answer is that results will vary from person to person with differing stages and levels of ability and experience.
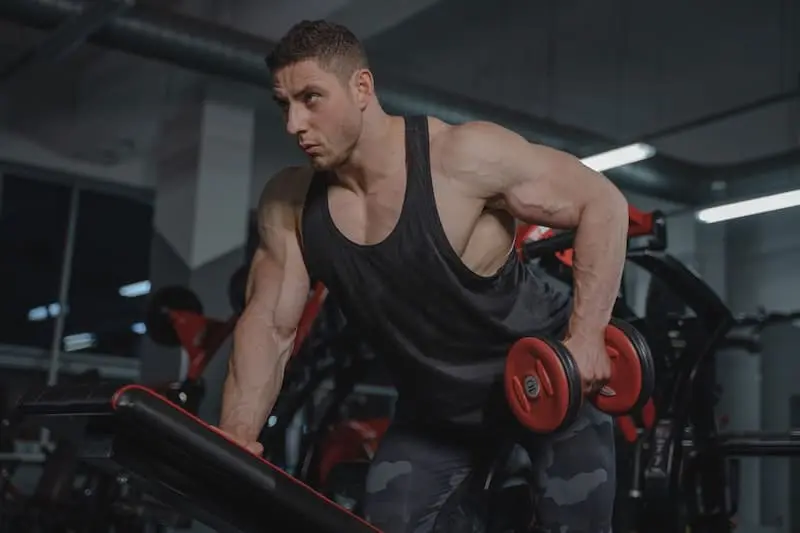
The 12 week program is a variation on an Upper-Lower split, with the upper body divided into Shoulders, and Chest-Back. Legs make up the lower body workouts. You’ll do arms on Leg day to balance the workload.
We go one step farther and divide each of those into a primary “more intense” day, and a secondary “less intense” day.
Exercises on the secondary day will still challenge you but those secondary days feature more compound than isolation exercises, so the “direct hit” the target muscles take is reduced.
Abs are done on Chest-Back days.
You’ll work out six days a week following this program.
| Day | Split |
|---|---|
| 1 | Legs 1, Arms 1 |
| 2 | Shoulders 1 |
| 3 | Chest 1, Back 1, Abs |
| 4 | Legs 2, Arms 2 |
| 5 | Shoulders 2 |
| 6 | Chest 2, Back 2, Abs |
| 7 | REST |
| LEGS 1 / ARMS 1 | Warm up | Set 1 | Set 2 | Set 3 | Set 4 |
| Banded squats | 50 | ||||
| Sissy Squats | 12-15 | 10-12 | 10-12 | 8-10 | |
| Weighted Lunges | 20 | 12-15 | 10-12 | 8-10 | |
| Leg Extensions | 30 | 12-15 | 10-12 | 10-12 | |
| Leg Curls | 20 | 12-15 | 10-12 | 8-10 | |
| Hip Extensions | 20 | 12-15 | 10-12 | 8-10 | |
| Toe raises | 20-30 | 20-30 | |||
| Single Arm Biceps Curls | 20 | 15-20 | 12-15 | 12-15 | |
| Gironda Drag Curls | 20 | 12-15 | 12-15 | 10-12 | |
| Triceps extensions | 20 | 12-15 | 12-15 | 10-12 |
| SHOULDERS 1 | Warm up | Set 1 | Set 2 | Set 3 | Set 4 |
| Side Lateral Raises | 20 | 15-20 | 12-15 | 12-15 | |
| Front Raises | 20 | 15-20 | 12-15 | 12-15 | |
| Rear Delt Flyes | 20 | 15-20 | 12-15 | 12-15 | |
| Single Arm Cable Shrugs | 20 | 15-20 | 12-15 | 12-15 | 10-12 |
| CHEST 1 / BACK 1 / ABS | Warm up | Set 1 | Set 2 | Set 3 | Set 4 |
| Decline DB Press | 30 | 15-20 | 12-15 | 10-12 | 8-10 |
| Incline Bench Press | 30 | 15-20 | 12-15 | 10-12 | 8-10 |
| Pec Deck | 15-20 | 12-15 | 10-12 | 8-10 | |
| Lat Pull-Ins | 20 | 15-20 | 12-15 | 10-12 | 10-12 |
| Chest-supported DB rows | 20 | 15-20 | 12-15 | 10-12 | |
| Cable Scapula Shrugs | 20 | 15-20 | 12-15 | 10-12 | |
| Back Extensions | 20 | 15-20 | 12-15 | ||
| Crunches | 30-40 | 20 | 20 | 20 | |
| Sit Ups with a Twist | 20 | 20 | |||
| Side Bends | 20 | 20 | 20 |
| LEGS 2 / ARMS 2 | Warm up | Set 1 | Set 2 | Set 3 | Set 4 |
| Banded squats | 50 | ||||
| Back Squats (heels elevated) | 12-15 | 10-12 | 8-10 | ||
| Romanian Deadlift (RDL) | 20-30 | 12-15 | 10-12 | 8-10 | |
| Hip Abductions | 12-15 | 10-12 | 8-10 | ||
| Hip Adductions | 12-15 | 10-12 | 8-10 | ||
| Hip Flexions | 20 | 12-15 | 10-12 | ||
| Standing Calf raises | 25 | 20 | 20 | ||
| Seated Hammer Curls | 20 | 12-15 | 10-12 | 8-10 | |
| Wrist Flexions | 20 | 15-20 | 12-15 | ||
| Wrist Extensions | 20 | 15-20 | 12-15 | ||
| Triceps extensions | 20 | 15-20 | 12-15 | 12-15 |
| SHOULDERS 2 | Warm up | Set 1 | Set 2 | Set 3 | Set 4 |
| Hammer Grip Shoulder Press | 20 | 15-20 | 15-20 | 12-15 | 10-12 |
| Infraspinatus Raises | 30 | 15-20 | 15-20 | 15-20 | |
| Trap Bar Shrugs | 20 | 15-20 | 15-20 | 10-12 | 8-10 |
| Y Raises | 20 | 15-20 | 15-20 | 10-12 | 8-10 |
| CHEST 2 / BACK 2 / ABS | Warm up | Set 1 | Set 2 | Set 3 | Set 4 |
| Underhand Chest Press | 20 | 12-15 | 10-12 | 8-10 | |
| Dumbbell Presses | 25 | 12-15 | 10-12 | 8-10 | |
| Helms Row | 20 | 15-20 | 15-20 | 12-15 | 8-10 |
| Lat Pull-Downs | 20 | 12-15 | 10-12 | 8-10 | |
| Motorcycle Rows | 25 | 12-15 | 10-12 | 8-10 | |
| Crunches | 30-40 | 20 | 20 | 20 | |
| Sit Ups with a Twist | 20 | 20 | |||
| Side Bends | 20 | 20 | 20 |
Perform this weekly 6 day split for 12 weeks to start building those muscles.
In order to reap full benefits from this 12 week muscle building program, here are some important guidelines to follow:
These will ensure you minimise injury and maximise muscle building potential. They are detailed further below.
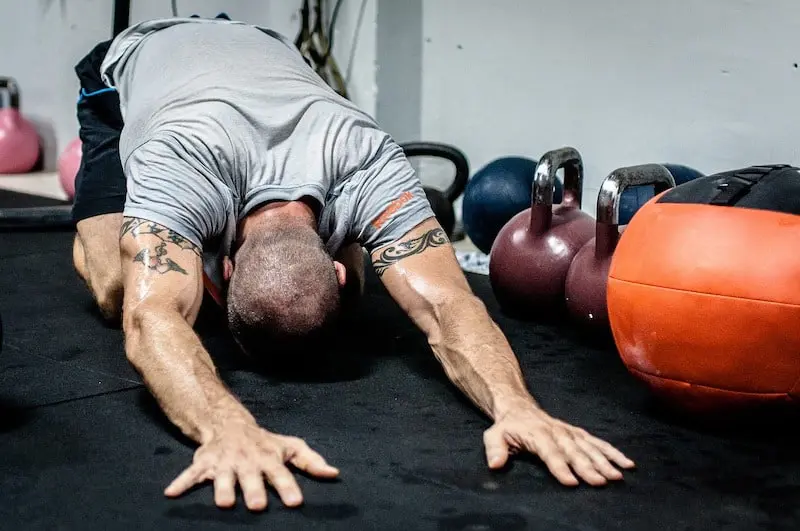
Warm up before your workout to prevent injury and practice the movements. Warm-ups are important for anyone and even more crucial for older adults. If you’re a newcomer to the gym but a veteran in another sport, you’ll already understand the value of a good warm-up.
The warm-ups included in our 12-week plan are composed of very light sets of the movements you’ll be doing during the workout, an application of the SAID Principle (Specific Adaptation to Imposed Demands).
You should also get in the habit of stretching the target muscles before actually targeting them. This program will target basically every single muscle you have in your body, so getting those muscle loose is crucial.
There’s nothing worse than getting started on a heavy set of bench press and pulling a pectoral muscle, which could have easily been prevented with some simple chest stretches.

For all exercises, use a rhythmic pumping motion. Do not jerk the weights or sacrifice form by getting other body parts involved. Example: swaying backwards to boost curls past a sticking point.
If your form isn’t perfect using the weight you selected, pick a lighter weight. Be patient! You’ll get there faster if you practice doing the movements the right way.
Form > Load. Always use proper exercise form without worrying about the amount you’re lifting. This takes discipline. Workouts should accomplish something, not prove something.
Progressive overload stimulates the adaptive responses that make muscles grow. For that reason, apply progressive overload to all exercises in the program. That means reps come before weight.
Start with poundage you can lift with perfect form for the specified rep range.
Once you’re able to do the suggested number of reps comfortably with good form, increase the weight so that the last couple of reps become challenging.
Each exercise starts with higher rep range and progresses to lower ranges. This accomplishes two things:
Finally, when we say “rep range”, we mean exactly that. It’s a range. If, for a set of 12 to 15 for instance, you do 13 for one set and then 12 for the next, fine. As long as the form is excellent and you cannot do another rep without sacrificing form.
The rep ranges shown here have been shown to work for building muscle size, shape, and density.
If you can easily do more than the specified number at a given rep range without reaching mechanical failure, increase the weight so that the final one or two reps are challenging but able to be performed with excellent form.
Mechanical failure is that point in a set of resistance exercise when the movement can no longer be performed without cheating.
Rest periods between sets are not written into the program and we don’t suggest a rest period of a specific duration.
There is no magic number for length of time to rest although too much rest between sets isn’t great and too little is worse.
Your ability to do each set intensely and correctly is what’s important.
Do the next set when you can do it with equal or greater intensity [as the one you just did].
— Scott Abel
Workouts will range in length from one to two hours depending on the day’s workout (leg days will likely take longer due to intensity and volume), and the length of your rest times.
Again, leg day rests will be longer than, say, shoulder day.

As an alternative to the rest day allocated for Day 7 of the 6-day split, you can optionally substitute an active recovery day for that day.
Active recovery days are kinda-sorta rest days, when you can do exercises that are less intense than your workout days, and also shorter in duration.
Examples of active recovery:
Use an active recovery day for rest days when you have loads of energy, are not sore at all, and when you’re getting enough sleep.
In general though, a rest day should be for rest and letting your muscles recover from the hard work you’ve put in.
The movements included in our gym workout plan address all the major skeletal muscle groups in the body.
These exercises are gym staples you can do for years. They’re not just for beginners. Master them and you’ll be able to use them for a lifetime.
There are dozens of exercises you can do for a body part; we had to draw the line somewhere. We stuck with the basics and classics.
There are more than a dozen criteria to weigh when ranking an exercise’s effectiveness, four of which we considered to be most important:
These are discussed below.
Alignment and Direction of Resistance are actually two separate however related criteria. For simplicity’s sake, we’re combining them here.
Muscles can only pull in one direction, a straight line between their points of origin and insertion.
A man pulls a load with a rope. The man cannot pull on the rope and expect the load to move in any direction other than toward himself (credit D. Brignole).
In the same way, resistance needs to be applied in a straight line. This is why, in a bench press for example, the elbow needs to be directly under the wrist so that force is directly applied.
Regrettably, many exercises that are reputed to work well act in a direction other than the one that muscle can function. A perfect example of this is the bent row for lats. Here’s why:
The latissimus dorsi originates along the vertebrae of the spinal column and inserts on the upper arm bone on the side of the arm bone that is closest to the rib cage. It’s job is pulling the upper arm bone toward the rib cage and *not behind it*. This is simply because the lat attaches under the arm and not behind it.
Pulling the arm to the rear is the primary job of the external rotators of the shoulder. For this reason, movements that pull the upper arm behind the body–like rows–do not do so with much involvement of the lat. The lat serves as a stabilizer in those movements.
Any movement that pulls the underside of the arm down and toward the torso will preferentially work the lats.
Finally, the load needs to line up with the line of contraction of that muscle. Using our lat example, straight alignment would be from the side toward the spine.
This is why we recommend the Lat Pull-In as the best exercise for lats. A correctly performed Lat Pull-Down is also good if–again–the lifter is careful to pull the back side of the arm toward the body and not behind it.
Better results faster can be expected by applying proper alignment.
In general, the fewer the joints that bend means that fewer muscles work.
Muscles cross at least one joint in order to make it move. Some cross two. Isolating a muscle that moves a joint (i.e., isolation exercise) assures you can know pretty much exactly how much load that target muscle is moving.
Now, if more than one joint is moving, which means multiple muscles (compound movements) work cooperatively to move the weight. In actual fact, you do *not* know how much load the target muscle is moving. You then must rely on “feel”, which can be deceiving for several reasons.
A good example is the conventional squat, held in reverence as a quad exercise. The problem is that the quads are the primary mover for only a portion of the squat, with the glutes and lower back responsible for moving a great percentage of the load.
The quads are responsible for straightening the leg. That’s it. They do not contribute to moving the hips nor straightening the back. The squat involves three joints: knee, hip, and vertebral column (which you could argue is more than a dozen joints…but for the sake of simplicity we’ll treat it as one to illustrate the point).
Squat lovers will say that much greater weight can be used with the squat and so therefore, it all evens out. Physics math proves differently. The leg extension and sissy squat mathematically work the quads much more than a squat.
This leads us to a third criterion for our exercise selection, risk to reward ratio.
Said simply, some exercises aren’t worth the risk of injury they impose. Using our squat example above, why overload the lumbar spine unnecessarily when better results can be achieved more safely with a leg extension.
Eventually, arguments for the “big lifts” track back to ego and the underlying desire to look badass in the gym. For sure, a sissy squat will not draw a crowd and will elicit no “beast mode” compliments…other than from the few who’ve tried them for themselves. Eight-time Mr. Olympia Lee Haney is credited with saying, “I’m in the gym to accomplish something, not prove something”.
Exercises fall into one of two categories: isolation, or compound.
Isolation exercises work a single muscle or a synergist group and require only one joint to move. With an isolation exercise, you know exactly which muscle is getting the load. Example: Leg extensions work quads.
Compound exercises require more than one joint to move and work groups of muscles. Example: squats work glutes, quads, hamstrings, adductors, and spinus erectors.
Isolation exercises will almost always be better for building a single target muscle than compound exercises, simply because the target muscle gets no help.
There are exceptions. Some of the best exercises for a particular body part are compound. An example is Decline DB Bench press. Even though the anterior delts and triceps come to the party, the way the Decline DB Press works the pec major is more biomechanically optimal than any other exercise and incurs less risk.
If you’re unaccustomed to a routine composed mostly of compound movements, you’ll need to pay special attention to your rest periods between sets, as well as your sleep and rest days. Isolation exercises done well will assasinate the target muscle, much more than a compound one will, simply because all your energy will be directed to that single muscle or muscle group.
It’s easy to overtrain when switching from mainly compound to mainly isolation exercises.
If you haven’t already done so, you can download the free PDF version from the link below.
IMPORTANT: If you have an existing or pre-existing injury, please consult a physical therapist or qualified personal trainer with a reputable certification in resistance training before attempting any of the movements detailed in this program.