The best online fitness resource you'll ever need. We filter out the BS to ensure you meet your health and fitness goals!
The best online fitness resource you'll ever need. We filter out the BS to ensure you meet your health and fitness goals!
Horizontal Pulling exercises can make you look bigger—and taller—almost immediately. How?
They can build mass, and improve posture.
Horizontal pulling exercises can add muscle mass that will add size; but they also enhance structural integrity and strength to your upper back, rolling your shoulder blades backwards and downwards even at rest.
The net effect is:
So which horizontal pulling exercises work the best?
I’ll share with you a few hand-picked horizontal pulling exercises that will most quickly strengthen, build mass, and affect better posture in the process. I’ll break them down into isolation exercises for those of you doing body part/bodybuilding routines, and compound exercises if you’re following a strength or metabolic enhancement program.
So sit up straight, pull those shoulders back, and let’s dive into our list of best horizontal pulling exercises.
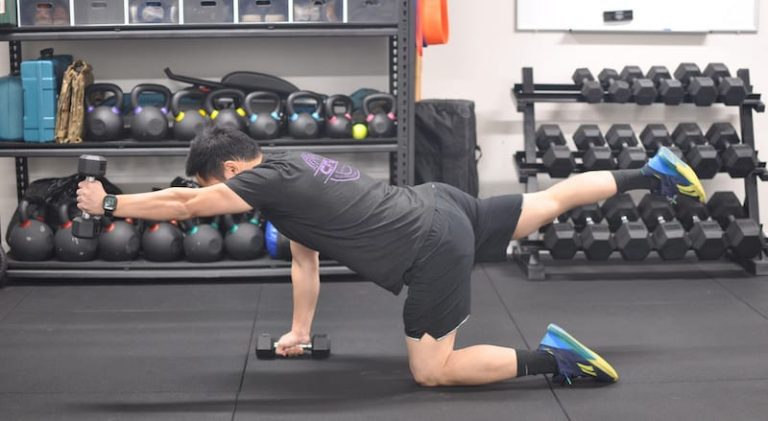
There’s only one way to do a shrug. You just put on a pair of wrist straps, grab a loaded bar or two heavy dumbbells, and raise your shoulders toward your ears over and over, right?
Uh…No.
Traditional shrugs as described above do work the traps, but only the upper traps.
The traps cover a very large area of the upper back. They attach all along the spine and at different points along with the shoulder blades and other shoulder bones. Because of this, they require different force vectors to properly develop them.
Upper traps require an upward movement, such as the traditional shrug. The portion of the traps just below the uppermost traps benefit from a diagonal pull up and back. But the middle and lower traps pull the shoulder blades together toward the spine.
For that reason, to work those middle and lower traps, the regular shrug just won’t get the job done if the thickness and a balanced physique are your goals.
The Scapula Shrug retracts the shoulder blades using almost exclusively the lower trap muscles, by squeezing the shoulder blades together.
When developed, the lower traps fill in the space between the shoulder blades, creating a thick muscular appearance. You know the bony edges of the shoulder blades that stick out sometimes (like when you scratch your own back) and make you look skinnier than you are? Scapula shrugs help fill in that area for a thicker, more muscular appearance.
Preferably, you’ll want a dual-axis cable or multi-station cable machine to do Scapula Shrugs.
Lying prone (face forward, chest down) on an incline bench and dumbbells also work, although it’s a little more of a challenge to set up for a set if using heavy dumbbells. And if you have long arms, the dumbbells won’t clear the ground enough to make this variation worthwhile.
Scapula shrugs work the lower traps, the segment of the trapezius between the lower half of the shoulder blades and the spine.
As we just said, the trapezius is a very large muscle that enables much of the movement of the shoulder girdle. It forms a sheet that runs from the base of the skull all the way down to the 12th thoracic vertebrae, which is the lower middle of the back.
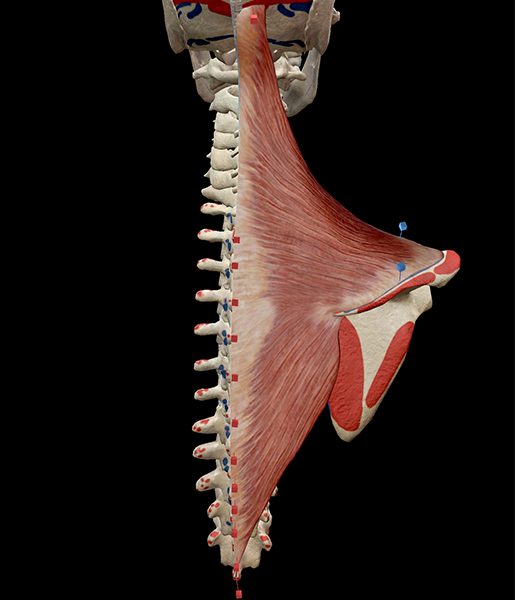
The traps raise, lower, pull down, and pull back the shoulder blades. They have no influence on the arms specifically, which means that exercises that bend the elbows do not engage the traps. For that reason, we try to avoid exercises that require moving the arms when striving for trap isolation.
Strength or power training programs can also benefit from this isolation move. For example, a powerlifter might do scapula shrugs in the off-season to add rigidity and structural support for heavy deadlifts and squats. Strengthening the middle and lower traps helps keep the shoulders from rolling forward during heavy deadlifts.
Like the lat pull-in, scapula shrugs are not well-known, but once you give them an honest try, they’ll become a favorite because they’ll fill in your back and round out the sharp corners that the shoulder blades create, leaving you with a beefy upper back.
Scapula shrugs fit nicely into Push-Pull routines, back days, or shoulder days. Powerlifters can insert them into their routines as finishers or auxiliary muscle-building work in the off-season.
Check out our sample workouts at the end for examples.
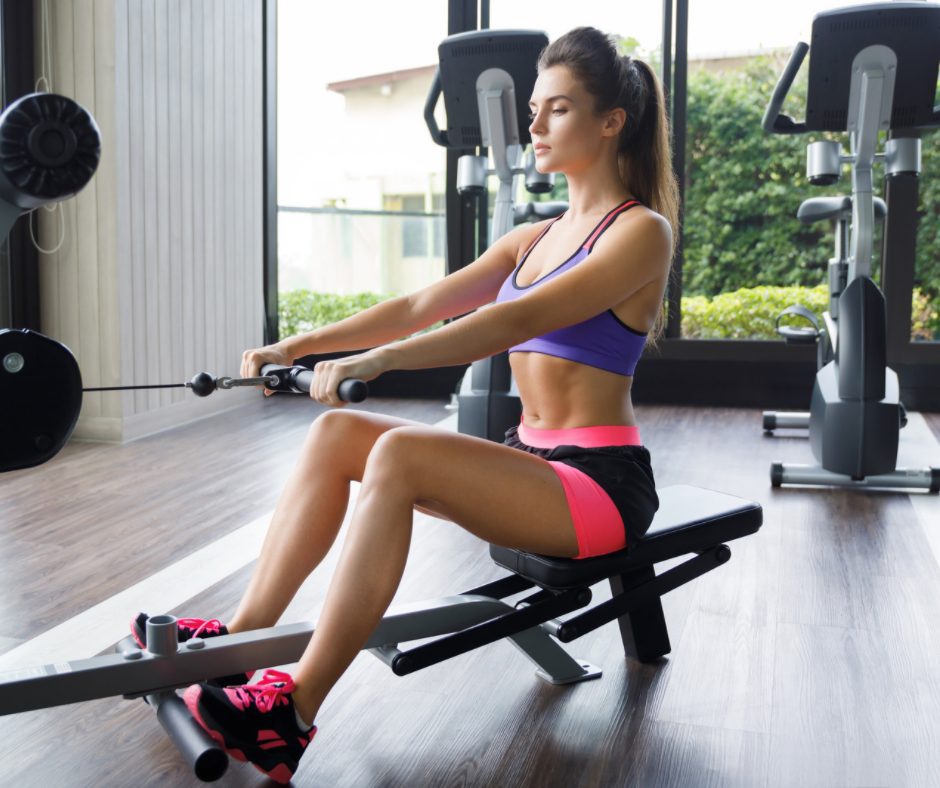
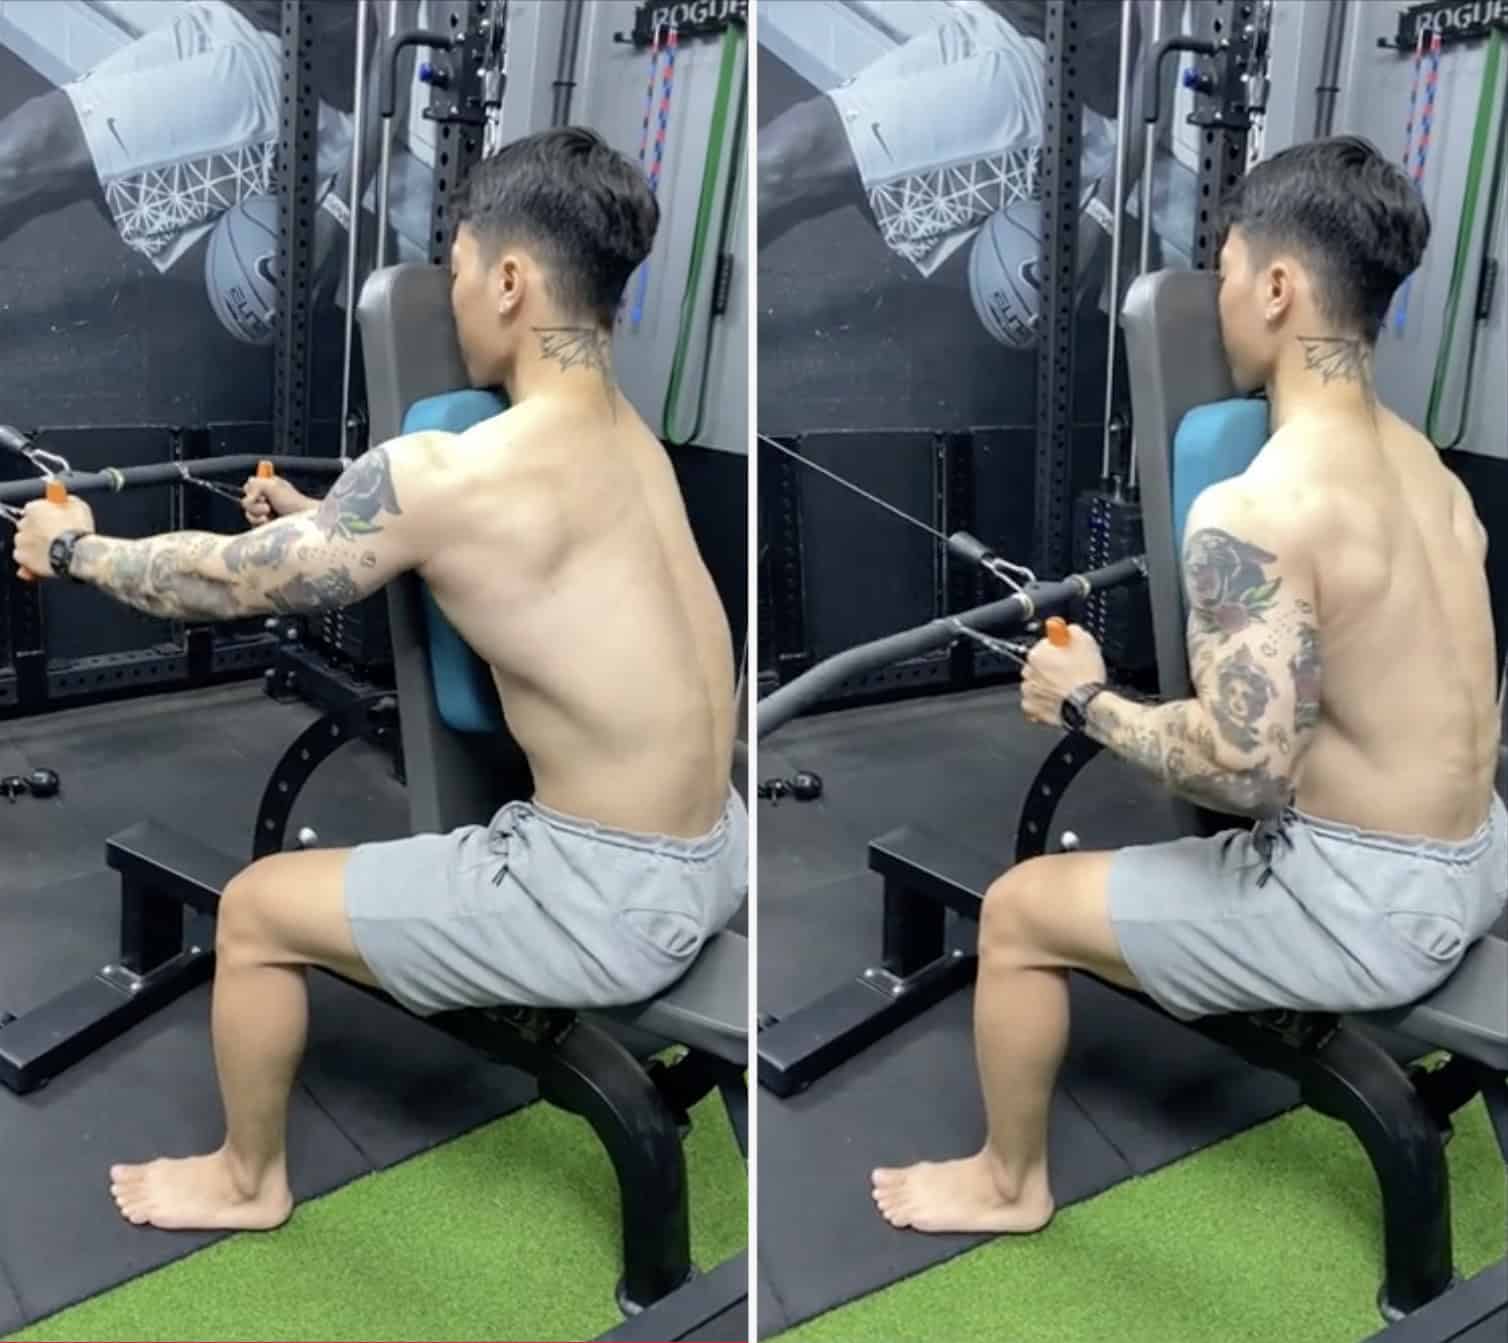
The Posterior Delt Cable Fly usually wouldn’t be considered a horizontal pulling exercise, but it is.
The posterior (rear) deltoids pull the upper arm backward. In physical therapy language, they pull the shoulder into extension. So they are most definitely a horizontal pulling exercise.
The Posterior Delt Cable Fly features a straight or slightly bent arm pulling a cable across the front of the body and finishing with the hand at a hip level just behind the back.
Posterior Cable Flyes can be done with one arm at a time, or two. You’ll need a cable machine.
This one is obvious: the Posterior Delt Cable Fly targets the rear delts almost exclusively.
The Posterior Cable Fly goes perfectly on a shoulder day. Put it at the beginning, middle, or end of the routine.
This exercise also works well on a back day. Putting it at the beginning, or the end as a finishing exercise. Many back exercises involve the posterior delts without the lifter being conscious of it.
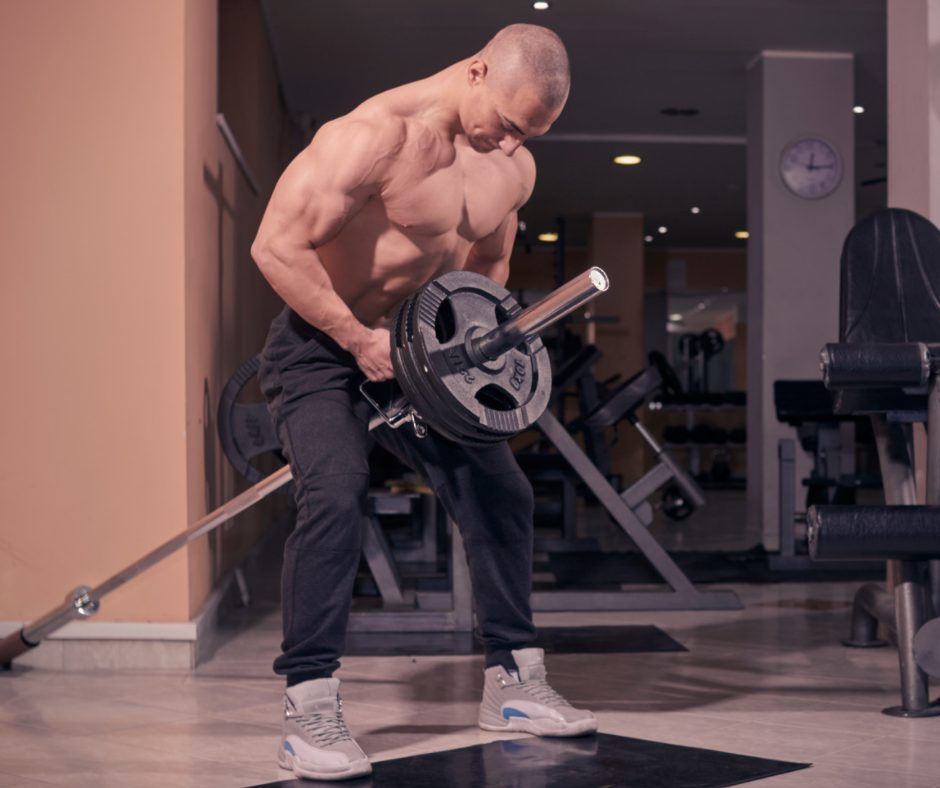
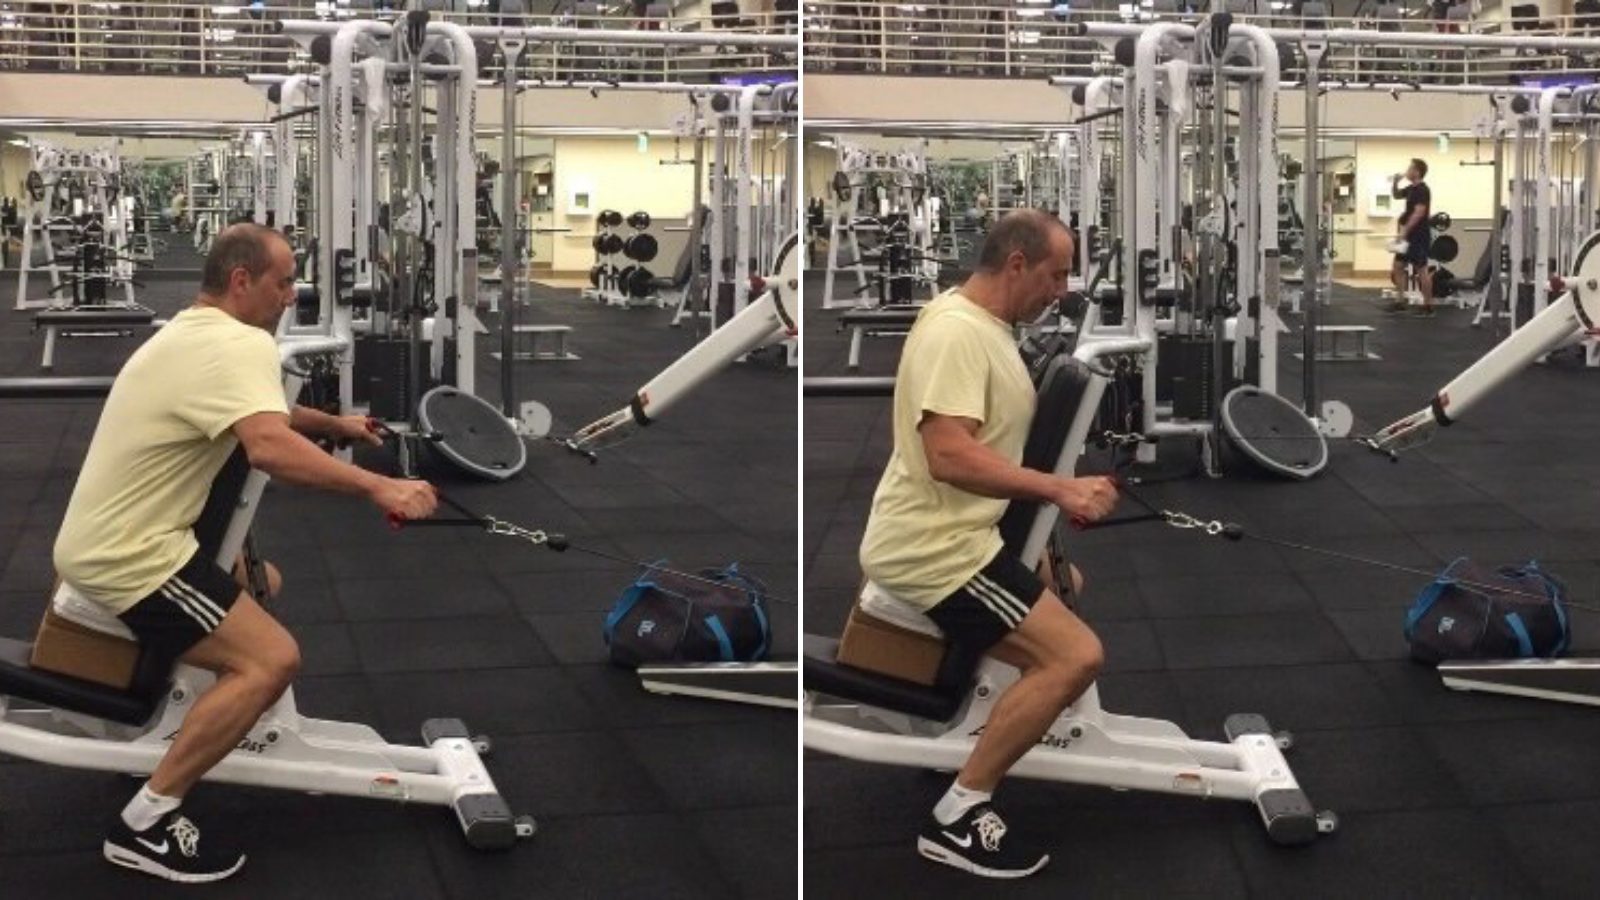
A T-bar row can be done by simply wedging a bar in a corner and loading the other end, or by adding a landmine attachment or a made-for-purpose T-bar machine with support.
Revered as a lat exercise, the T-bar row in reality works all the muscles of the back, which makes it a compound horizontal pulling exercise. The T-bar row stresses especially the erectors if using the unsupported setup because they must support the upper body plus the weight of the barbell.
A T-Bar Row is performed facing forward and downward, rowing a weight with arms to the sides and only slightly away from the upper body. Arms are not flared out to the sides very far at all.
T-bar row machines (sometimes referred to as Incline Lever Row machines) take the stress off the lower back freeing the lifter to concentrate on the lats, traps, and posterior shoulder muscles.
The full range of motion runs from full arm extension to elbows tight and slightly behind the upper body.
A dedicated, made-for-purpose, T-Bar Row machine is best for this exercise because it reduces lower back strain, and includes a convenient way to set up, un-rack, and re-rack the weight.
Simple. The hardest part may just be disciplining yourself to not use too much weight to use strict form.
If you don’t have a dedicated Incline Lever Row machine, you can use dumbbells and an adjustable bench set at a mid-range incline. Dumbbells make setting up more cumbersome because you have to lift them into position for the set.
Setting them down of course is easier, although just dropping them will make you look like a novice. Dropping dumbbells will damage them over the long term, and if you’re working out in a big fitness facility, your fellow lifters won’t appreciate it much if that 100-lb DB is wobbly or missing big chunks of rubber.
Standing T-Bar row machines are another option, although they differ very little from a simple landmine setup described below.
If Using Barbell with or without Landmine Attachments, and several configurations of handles that gripping easy and provide variable grip widths. V-handles for very narrow hand placement and angled bar attachments for wider grips are all commercially available.
T-Bar Rows work all the visible muscles of the back and the posterior deltoids. The underlying muscles responsible for pulling the shoulder blades backward such as the rhomboids also participate during the T-Bar row.
Biceps and brachialis (the large muscle underneath the biceps) strongly join the movement in the later phase of the exercise as the arms bend and elbows approach the upper body.
Program the T-Bar Row into a Back Day, or a Push-Pull day. If doing the standing version, do the row early in the routine due to the fatigue it will inflict on your lower back. Not smart to do them once your erectors are already tired from other back work.
The erector muscles do not need a lot of stress to grow, and there’s no reason to risk lumbar disc injury.
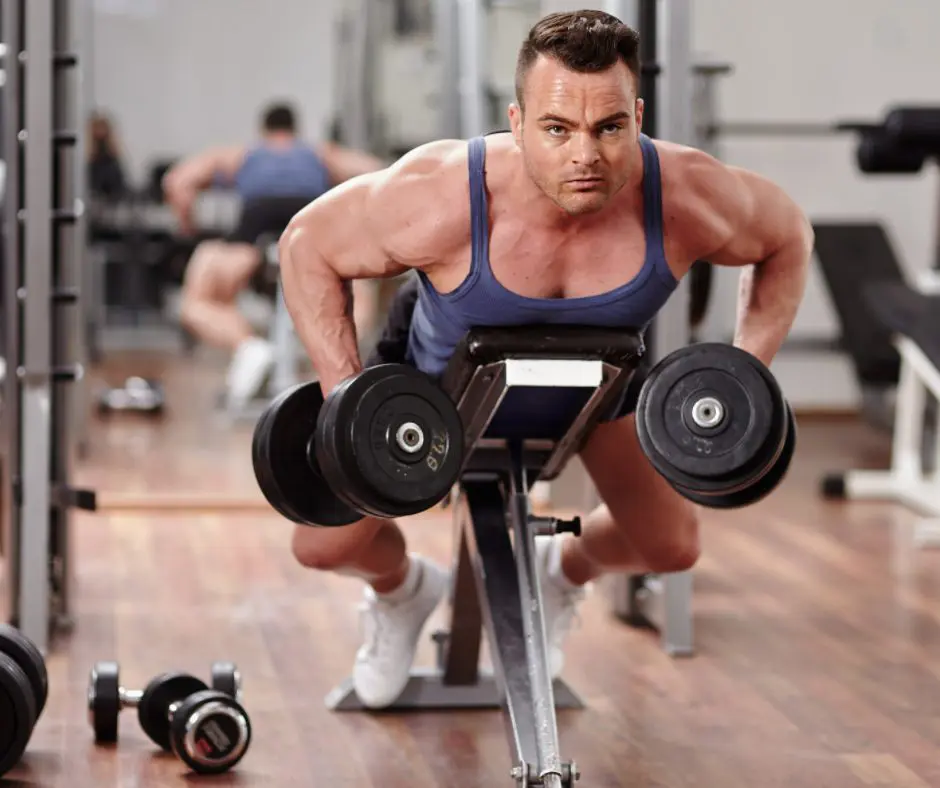
Supported Rows on a machine, especially designs that feature chest support, can be a very effective compound horizontal pulling exercise for the back.
The machine solves several of the chronic problems present in almost all back exercises. The chest pad takes the stress off the lower back, reduces the risk of lower back strain, and provides tactile feedback to keep the upper body still to prevent rocking backward for momentum.
Many of these machines allow for working one side or both, unilateral or bilateral.
Machine handle configuration and direction of pull vary from machine to machine, depending on the manufacturer. There are three basic handle configurations for supported row machines. We’ll rank them by biomechanical correctness:
These machines are easy to use, which is part of their appeal.
Which muscles these machines work depends on design. Our Number 1 choice above works the back (lats, traps, teres major, posterior delts, and other supporting mid-back muscles more comprehensively than the others. Number 3 design, not so much.
Many big-box fitness centers have muscle anatomy charts posted somewhere in the facility. Spend a little time looking at these, and make a mental note of the direction the muscle fibers run. If a machine doesn’t allow its motion to follow the direction of the fibers, look for one that does.
Supported Machine Rows go great in back days, or in Push-Pull days. Follow a traditional descending rep pattern where the weight goes up as reps go down; or, do straight sets, where the same number (or roughly the same number) of reps are done for each set.
We’ve written out three sample workouts to illustrate how horizontal pulling exercises can be programmed into your routine. Note that we’ve added a few other favorite moves along with the horizontal pulls.
We’ve opted for a descending rep-ascending load format. You can do these same workouts using straight sets, multiple sets of the same (or about the same) number of reps. Be sure to warm up properly first, and don’t stretch until after your workout. Stretching a cold muscle can lead to injury.
Horizontal pulling exercises are natural for back days. Here’s a standard back day that starts using the lat pull-in.
This sample workout includes the lat pull-in, which was also featured in our vertical pulling exercises article. It works as a horizontal or vertical pull. It’s here because it’s so awesome.
This back day includes a lot of trap work because the traps make up such a large percentage of the back. Note that the workout below includes both vertical and horizontal pulling exercises.
30 x 1 (super light, warm-up)1
20 x 1
12-15 x 1
8-10 x 3-4
30 x 1 (super light, warm-up)1
20 x 1
12-15 x 1
8-10 x 3-4
30 x 1 (super light, warm-up)
20 x 1
12-15 x 1
8-10 x 3-4
30 x 1
15-20 x 1
12-15 x 1
10-12 x 3-4
There’s some real advantage of combining pushing and pulling exercises into the same workout.
Push and pull motions using horizontal pulling exercises is a smart way to work on something called the “force couple”. A force couple is a term used to describe muscles that attach on opposite sides of a joint, providing even tension.
The big idea is that you want muscles evenly developed on all sides of a joint.
If you’ve ever noticed someone with a massive chest, developed anterior delts, big lats, and with a really rounded upper back…that’s a person whose shoulders are imbalanced. Pec major and pec minor muscles have pulled the shoulders forward, and the lats are putting tension on the back of the upper arm bone (humerus), creating that rounded appearance.
It gets a little more complicated than that, but in general, you get the idea. You want balance. A push-pull workout using horizontal pulling exercises emphasizes that.
Here’s an example of how you could incorporate horizontal pulling exercises into a Push-Pull day.
50 x 1 (super light, warm-up)1
40 x 1
30 x 1
15-20 x 1
12-15 x 1
10-12 x 3-4
30 x 1
15-20 x 1
12-15 x 1
10-12 x 3-4
50 x 1 (super light, warm-up)
40 x 1
30 x 1
15-20 x 1
12-15 x 1
10-12 x 3-4
30 x 1 (super light, warm-up)
20 x 1
12-15 x 1
8-10 x 3-4
30 x 1
15-20 x 1
12-15 x 1
10-12 x 3-4
30 x 1 (super light, warm-up)
20 x 1
12-15 x 1
8-10 x 3-4
Most think of shoulder days in terms of presses and raises. But the muscles of the back act strongly on the shoulders, and the shoulder blades in particular.
To develop a balanced physique, both for appearance and function, include horizontal pulling exercises into your shoulder days, especially the ones that draw the shoulder blades backward and downward.
Here’s a sample shoulder day that includes a healthy dose of horizontal pulling exercises that will shape your shoulders and help keep them healthy and in line.
50 x 1 (super light, warm-up)
40 x 1
30 x 1
15-20 x 1
12-15 x 1
10-12 x 3-4
20 x 1
12-15 x 1-2
10-12 x 3-4
50 x 1 (super light, warm-up)1
40 x 1
30 x 1
15-20 x 1
12-15 x 1
10-12 x 3-4
20 x 1
12-15 x 1-2
10-12 x 3-4
30 x 1
15-20 x 1
12-15 x 1
10-12 x 3-4