The best online fitness resource you'll ever need. We filter out the BS to ensure you meet your health and fitness goals!
The best online fitness resource you'll ever need. We filter out the BS to ensure you meet your health and fitness goals!


Olympic Weightlifting consists of two competitive lifts: The Snatch, and the Clean & Jerk. However, when we consider the complexity of these movements, there are three separate moves to consider: The Snatch, the Clean and the Jerk. Of course, the clean & jerk are treated as one lift for a specific reason – Olympic Lifts are only considered complete once the barbell is above the athlete’s head. However, the clean and jerk both serve different purposes and training each separately will allow for solid completion once the two moves are put together.
The jerk is the second part of a composite Olympic Lift known as the clean & jerk. During the clean, an athlete moves the barbell from the floor to a rack position. The jerk is the second part of the movement and involves raising the barbell from a stationary rack position above overhead.
The key purpose of the jerk is its role in the clean & jerk in competitive lifting. As a training drill, it is brilliant for developing technique for overhead lifts, strength and speed. For other athletes, it is often used to develop power, speed, precision and mobility while working on overhead strength.
There are three styles of the jerk that rely on different receiving positions.
The split jerk is the most common technique used for a simple reason: There is a better base of support.

When completing the jerk, we predominantly use our lower body and trunk to move the barbell dynamically overhead. The goal with ANY overhead movement must always be to maintain a neutral spine. This is often best realized by adopting a wide stance with your feet ever so slightly externally rotated. This of course will differ from person to person, a comfortable stance for the jerk will often resemble that of a front squat.
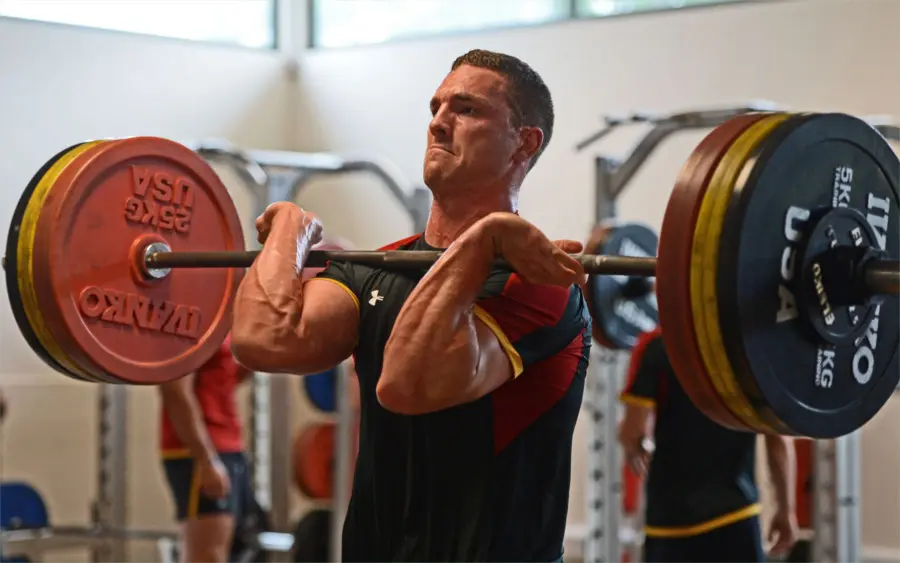
Rack support is extremely important. The bar should be in a solid position, resting on the shoulders, NOT on the chest or wrists. This position will allow athletes to maintain contact with the bar as they initiate the dip phase. Keeping the elbows below the bar will allow for a smoother path of the bar overhead.
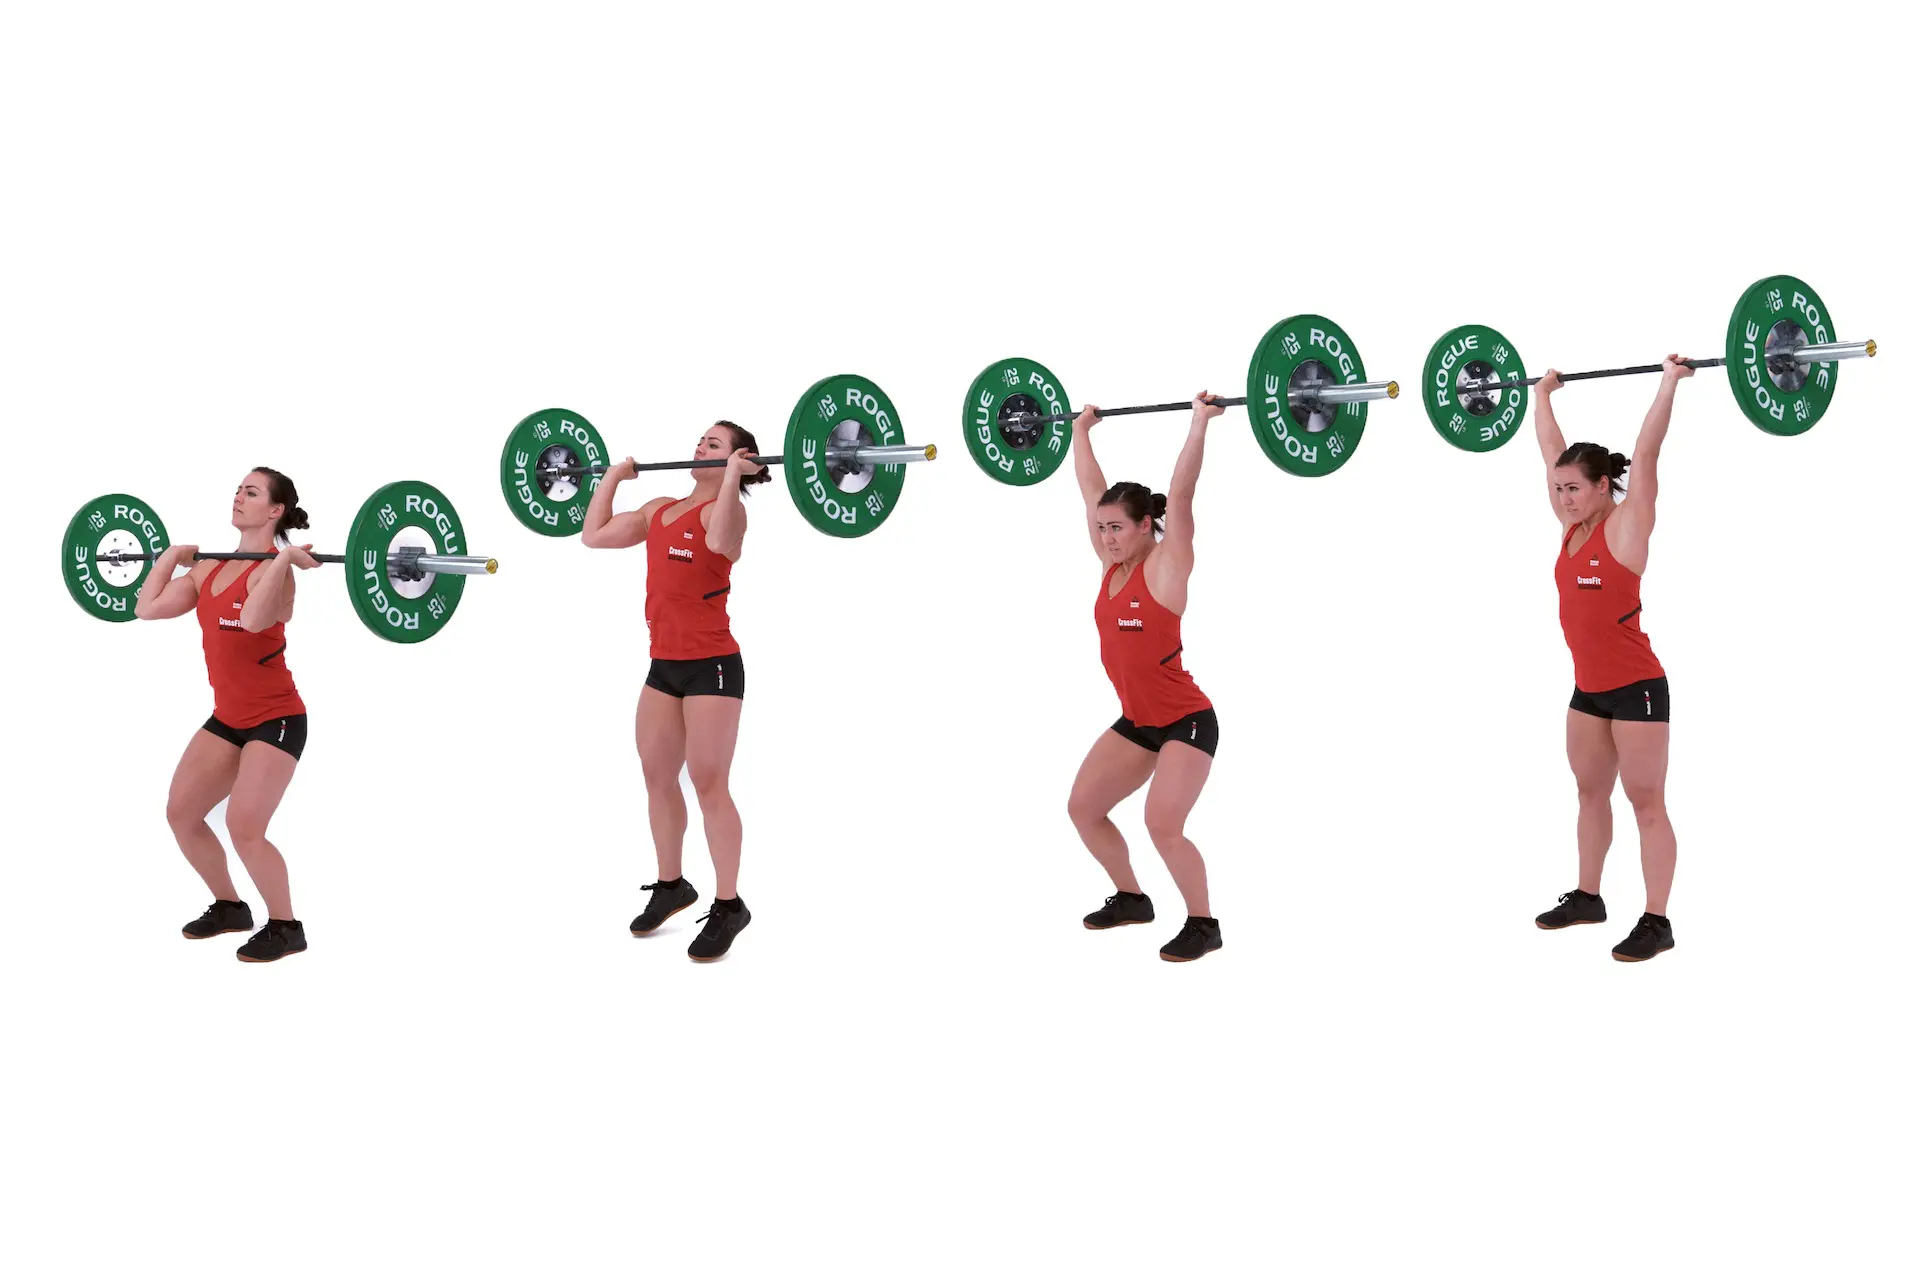
The jerk begins with the dip. A clean and well performed dip will most likely result in a good jerk. The dip is where you load the legs in order to drive the bar upwards. This involves bringing and maintaining tension in the legs and core to be able to smoothly drive the bar up.
The dip in the jerks seems simple enough – bend your knees and then straighten them dynamically. This does sound very simple, but like many simple things, there is a lot more than meets the eye. In the starting position of the jerk, the athlete is standing upright with the bar on the chest, arms relaxed and elbows pointing forward.
The dip-drive is essentially a redirection of force. The movement relies on creating a tense musculature in the legs and core, while rapidly extending the knees, ankles and hips. It is important to keep a grounded centre of gravity, this is achieved by driving through the heels.
The dip position must be correct for the jerk to be completed and to follow a more precise path. The bar should be over the lifter’s centre of mass, it should look like this:
Control is extremely important in the dip. When we refer to control, we mean the ability to move as quickly as possible while retaining the correct body position and keeping tension in the lower body. Speed should not be worked on until there is control.
Particularly as fatigue begins to settle in, this element of control is vital. As the weights are increased and/ fatigue settles in, it becomes increasingly harder to push the bar up. A common mistake amongst lifters is to complete the dip too quickly which often results in the bar moving too far away from the body.
Throughout the dip the bar should stay connected to the shoulders until the top of the drive. A couple of ways to practice this:
To initiate the dip-drive of the jerk, the breath plays a pivotal role. Take a deep breath into the belly and hold it in. This helps to protect the low back and to transmit energy from your legs, through your trunk to the barbell. Gently flex the knees, pushing them out like in a squat, this should be a rapid movement and the upper body must not shift out of position. The lifters must keep their weight evenly spread across their feet, but drive through the heels. This helps to fully activate the back body and keep a neutral stance without falling off balance.
To obtain the best depth of the dip an athlete should exploit the full-strength potential of their legs. If you do not dip low enough an athlete will struggle to find sufficient power to drive the bar into full extension. Equally, if you dip too low it will also be a real struggle to continue momentum. A dip drive has no similarities to a thruster, it is a small controlled movement with an emphasis on speed and power.
The drive phase begins as soon as the athlete changes direction at the lowest point of the dip. It is important to keep the core engaged and the torso in an upright position throughout this phase, while driving through the feet. The athlete should be concentrating on extension of the knees and hips as opposed to plantar flexion (letting the heels come off the ground).
The key factor in the drive is to not use the upper body to press the weight overhead, i.e. the shoulders, chest and triceps. These muscles should be engaged to help stabilize the torso allowing the lower body to drive the weight up and overhead.
Following the drive, there is a brief ‘weightless phase’ of the barbell, this is the lifter must rotate their arms into a locked-out position overhead while concurrently dropping under the bar. If completed correctly a lifter should not press the load up in a jerk, but merely stabilize it.
The split position is best reached by forcefully moving the front foot forward, with a slight internal rotation or inward canter, while at the same time driving the back knee down. The feet should not be in line, but hip to shoulder width distance apart to maintain stability. The slight internal rotation of the front foot can help many lifters to find a more solid receiving position.
Just like with the other Olympic Lifts, the goal of the jerk is for the athlete to drive the bar overhead using their legs and to drop underneath the bar with arms locked out overhead. The receiving position for a split jerk is a half-lunge.
The split jerk is the most common style practiced by competitive weightlifters for a couple of simple reasons – It allows for a comparatively great receiving depth while also allowing for relatively easy recovery from such depths, additionally it provides superior stability in all directions than the power or squat jerk.
The receiving position for the split jerk is a half-lunge. Your front shin should be as vertical as possible and your back leg should be slightly bent. As mentioned earlier, athletes want to avoid receiving the barbell in a ‘tightrope’ position with the feet in line, but with a more solid base of hip to shoulder distance and not too far apart. The torso must be solid and upright, and the bar should be received over the upper back (behind the ears) and NOT directly on top of the head. The shoulders and upper back should be engaged to help support the weight.
The jerk is initiated by flexing the knees, however as an athlete starts to feel fatigues or as the weights get heavier there is a tendency to dip lower or bend their knees more. The dip defines the movement, and if it is off it can cause a domino effect.
There is a tendency to believe that dipping lower will give you more power, however in reality a gentle dip with an extremely explosive upward extension is far superior.
A great cue to prevent this from happening is to keep the torso upright and to never let your knee go beyond your toes.
Exercises to fix this: the jerk dip.
This can often be an effect of dipping too low. Shifting too much weight into the ball of the foot can cause a decrease in power and even throw off your entire technique. If your weight is forward then there is an extremely good chance that the path of the bar will be shifted off the centre and pull you forward. This will in turn make it very difficult to catch the barbell overhead and ups the chances of injury by a long way.
Your weight should be evenly distributed throughout the foot, and it can help many to counter the desire to fall forward, if they think about driving through the heels.
Exercises to fix this: Jerk dips, front squats
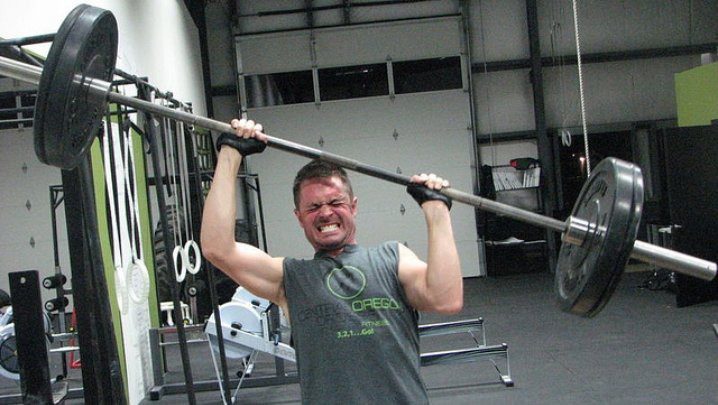
A frequent mistake amongst beginners is trying to use upper body strength to push the barbell up, rather than using momentum and dropping their body under the bar.
If you press the barbell just high enough to catch it overhead, but not high enough to catch it with fully extended arms, the athlete will have to use strength to complete the lift. This is extremely inefficient and potentially harmful.
A correct split jerk should be completed by pressing the barbell slightly above the head and then dropping down, or pulling your body, beneath the bar and landing in a split position.
Exercises to fix this: Tall jerk, jerk recovery, press to jerk
The split stance can be awkward for many to begin with. With so much else going on, finding the correct split position in a comfortable solid long split stance can be challenging. There is often a tendency to land in more of a staggered stance as opposed to a full split stance.
Exercises to Fix This: Step to split, jerk balance
The split jerk is a movement that demands huge amounts of both power and technique and is the overhead lift used to move the most amount of weight. If you want to drive your clean & jerk PR up substantially, perfect this movement.
This is imperative for all lifts. Looking at a split jerk from the side, there should be a solid straight line between the bar, shoulders and hips and an even distance between the feet. This will prohibit low back injuries and allow your legs to take the brunt of the weight.
There are simple positioning cues
If you manage to drive the bar really high and in a straight line, your recovery from the split will be far easier. The push press is a great drill to work on drive, however there must be focus on using the legs as much as possible.
Creating a comfortable ‘shelf’ on the shoulders for the bar will give more freedom of movement to the dip and drive, allowing it to be straight and powerful. There is often a tendency to grip onto the bar and use the wrists to hold up the weight, this makes the whole movement a lot harder.
Some people may find it hard to maintain the position of their chest and elbows during the dip due to poor thoracic mobility. If the upright position is compromised this can often lead to people using their arms too early, it is important to let the shoulders drive the bar up before the arms punch through.
Many people will drive the bar forward and around their chin, rather than moving their chin out of the way of the bar. For a clean movement, drive the bar directly off the shoulders and move the chin back and out of the way. This keeps the bar on a straight trajectory and will help to keep the torso in an upright position making it easier to drop under the bar.
The split jerk is a complex movement, which means it requires patience, hard work and dedication. However, once perfected this exercise will become speedier and will allow you to lift more weight overhead. For those who struggle with stability in the split stance, single-leg strengthening exercises can help such as alternate leg lunges and overhead split squats.
Building strong foundations for most athletic movements begins in the feet. A split jerk without clean footwork is going to struggle a lot. Practice without the bar, get comfortable with the movement until it becomes second nature.
The tall jerk works with a smaller range of movement, allowing the lifter to focus more on footwork, balance and timing of the drop under. It is also great for teaching athletes how to aggressively lock out their arms and develop a strong receiving position.
This drill is exactly what the name suggests – a jerk with a slight pause at the bottom of the dip. This helps athletes who struggle to keep their heels down and maintain balance during the dip phase of the movement. Working on the pause jerk can also help many to achieve a straighter bar path.
A great drill to help strengthen an athlete’s overhead position and lockout position. This helps to develop a sturdier lockout and confidence in the ability to handle heavy loads overhead.
The jerk requires a ton of athleticism, dedication, and control to do it well. Remember Rome was not built in one day; however it did burn down in one. Take your time and be progressive with weight while learning this lift.
The jerk dip is an exercise that helps to strengthen the dip position, particularly the capacity to stop the downward movement of the weight so as to drive back up. Jerk dips are a fantastic support exercise that can be help a lifter achieve three things:
1. Boost strength and control in the dip phase of jerk.
2. Teach athletes to stay as vertical and upright as possible.
3. Help athletes to learn the best dip depth for them.

The step to split is a brilliant drill to fortify the position for receiving jerks.
The jerk balance is a teaching drill for the split jerk.